Photography is not just about having the right equipment; it’s also about mastering the techniques that will allow you to create stunning images. Whether you’re shooting landscapes, portraits, or action shots, understanding the techniques behind the camera can help you elevate your photos from ordinary to extraordinary.
In this article, we’ll explore some of the best photography techniques that every photographer should know. These techniques will help you capture stunning images, regardless of your skill level or the type of photography you’re passionate about.
Mastering Exposure Triangle: Aperture, Shutter Speed, and ISO
One of the first concepts you need to grasp as a photographer is the exposure triangle, which consists of three key elements: aperture, shutter speed, and ISO. These elements work together to determine the exposure and overall look of your images. Here’s how each of them affects your photos:
Aperture (f-stop)
Aperture controls the amount of light entering your camera. It’s measured in f-stops (e.g., f/2.8, f/5.6, f/16). A lower f-stop number allows more light into the camera and results in a shallow depth of field, which is great for portraits where you want to blur the background and make your subject stand out.
On the other hand, a higher f-stop (e.g., f/16) lets in less light but increases the depth of field, making more of the image sharp and in focus. This is perfect for landscape photography where you want everything, from the foreground to the background, to be sharp.
Shutter Speed
Shutter speed refers to how long the camera’s shutter remains open to let light in. It’s measured in fractions of a second (e.g., 1/500, 1/30, or even several seconds).
- A fast shutter speed (e.g., 1/1000) is ideal for freezing fast-moving subjects, such as in sports or wildlife photography.
- A slow shutter speed (e.g., 1/30 or longer) allows for motion blur, which can create a sense of movement. It’s perfect for capturing waterfalls, traffic lights, or even the motion of a person walking.
ISO
ISO controls the sensitivity of your camera’s sensor to light. A lower ISO (e.g., 100) is great for bright conditions, like shooting outdoors in the daytime. However, when you’re shooting in low light, you may need to raise the ISO (e.g., 1600 or higher) to avoid underexposed photos. Keep in mind that a higher ISO can introduce noise or grain, so it’s best to keep it as low as possible while still getting the exposure you need.
Balancing the Exposure Triangle
To achieve the best possible exposure in your photos, you need to balance these three elements. For example, if you increase the aperture (lower f-stop) to let in more light, you might need to adjust the shutter speed to prevent overexposure. Likewise, if you raise the ISO for a low-light situation, you may need to adjust the aperture or shutter speed to ensure the image remains well-exposed.
By experimenting with these settings and understanding how they affect your photos, you’ll gain better control over your images and be able to capture the exact look you want.
Using Leading Lines to Enhance Composition
One of the most effective techniques for creating visually striking photos is using leading lines. Leading lines are lines within your scene that draw the viewer’s eye toward the subject or a focal point. They create depth and perspective, making the image more dynamic.
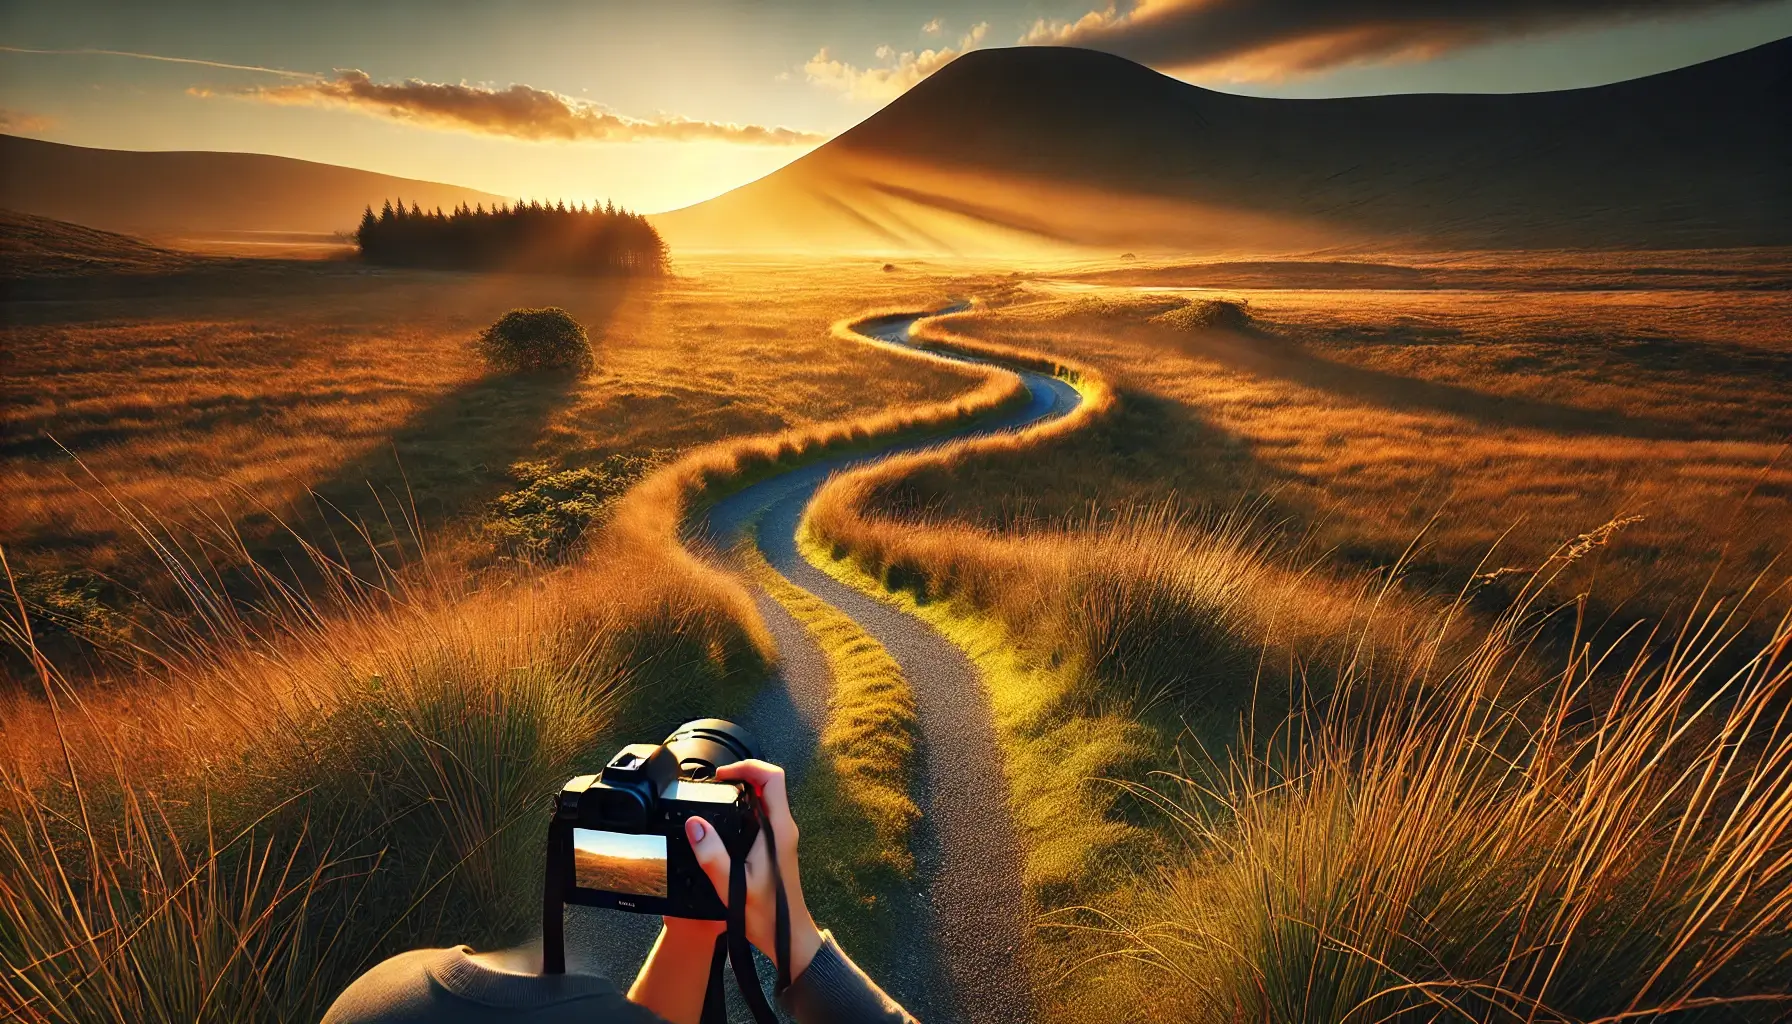
Leading lines can be anything from a road, river, fence, or even the edges of buildings. You can use them to guide the viewer’s attention, enhance the composition, and create a sense of movement within the frame.
For example, in landscape photography, a winding road or a river can serve as a leading line that leads the viewer’s eye toward a distant mountain or sunset. In portrait photography, you can use a path or a row of trees to guide the viewer’s gaze to your subject.
The Power of the Rule of Thirds
The rule of thirds is a fundamental composition technique that can dramatically improve the quality of your photos. Imagine dividing your image into a 3×3 grid, with two vertical lines and two horizontal lines. The idea is to place your subject along these lines or at the intersections, which are known as the “power points.”
This simple yet effective technique helps to create balance and makes your photos more visually engaging. It’s particularly useful for landscapes, portraits, and even street photography. By positioning your subject slightly off-center, you create a sense of movement and allow the viewer’s eye to wander through the frame.
Using Natural Light to Create Stunning Portraits
Natural light is one of the most powerful tools a photographer can use, especially for portraits. Unlike artificial lighting, natural light tends to be softer and more flattering, making it ideal for capturing the subtle details of a subject’s face.
Golden Hour
The golden hour, which occurs during the first hour after sunrise and the last hour before sunset, is known for its soft, warm light. This light is perfect for creating beautiful portraits with a natural glow. During this time, the light is angled low, casting long shadows and giving your subject a natural, ethereal look.
If you’re shooting outdoors, try to plan your photo sessions during the golden hour for the best results. You can use the soft light to highlight your subject’s features and create a dreamy, cinematic effect.
Overcast Days
On cloudy days, the sky acts as a natural diffuser, softening the light and reducing harsh shadows. This is particularly advantageous when shooting portraits, as it allows for more even lighting across your subject’s face. Overcast days can also create a moodier atmosphere, perfect for certain types of photography.
Backlighting and Silhouettes
Backlighting occurs when the light source is behind your subject. This can create dramatic effects, such as silhouettes or glowing edges around your subject. You can experiment with backlighting to create unique and artistic images, especially during sunrise or sunset when the light is most powerful.
The Art of Using Depth of Field
Depth of field refers to the area in your photo that appears sharp and in focus. A shallow depth of field isolates the subject from the background, creating a soft, blurry backdrop that makes the subject stand out. This effect is commonly used in portrait and macro photography.
On the other hand, a deep depth of field keeps more of the image in focus, making it ideal for landscapes, architecture, and group photos. To achieve a shallow depth of field, use a wide aperture (e.g., f/1.8 or f/2.8), and for a deep depth of field, use a smaller aperture (e.g., f/16 or f/22).
Experimenting with depth of field allows you to control the visual impact of your photos and can help you create more compelling and artistic images.
Conclusion
Photography is a blend of technical knowledge, creativity, and practice. By mastering key techniques such as understanding the exposure triangle, using leading lines, applying the rule of thirds, and experimenting with natural light, you can significantly improve your photography skills. Remember, practice is essential, and over time, these techniques will become second nature.
Every photographer has their own style and preferences, so don’t be afraid to experiment with different approaches and find what works best for you. With these techniques in your toolkit, you’re on your way to capturing stunning images that truly stand out.