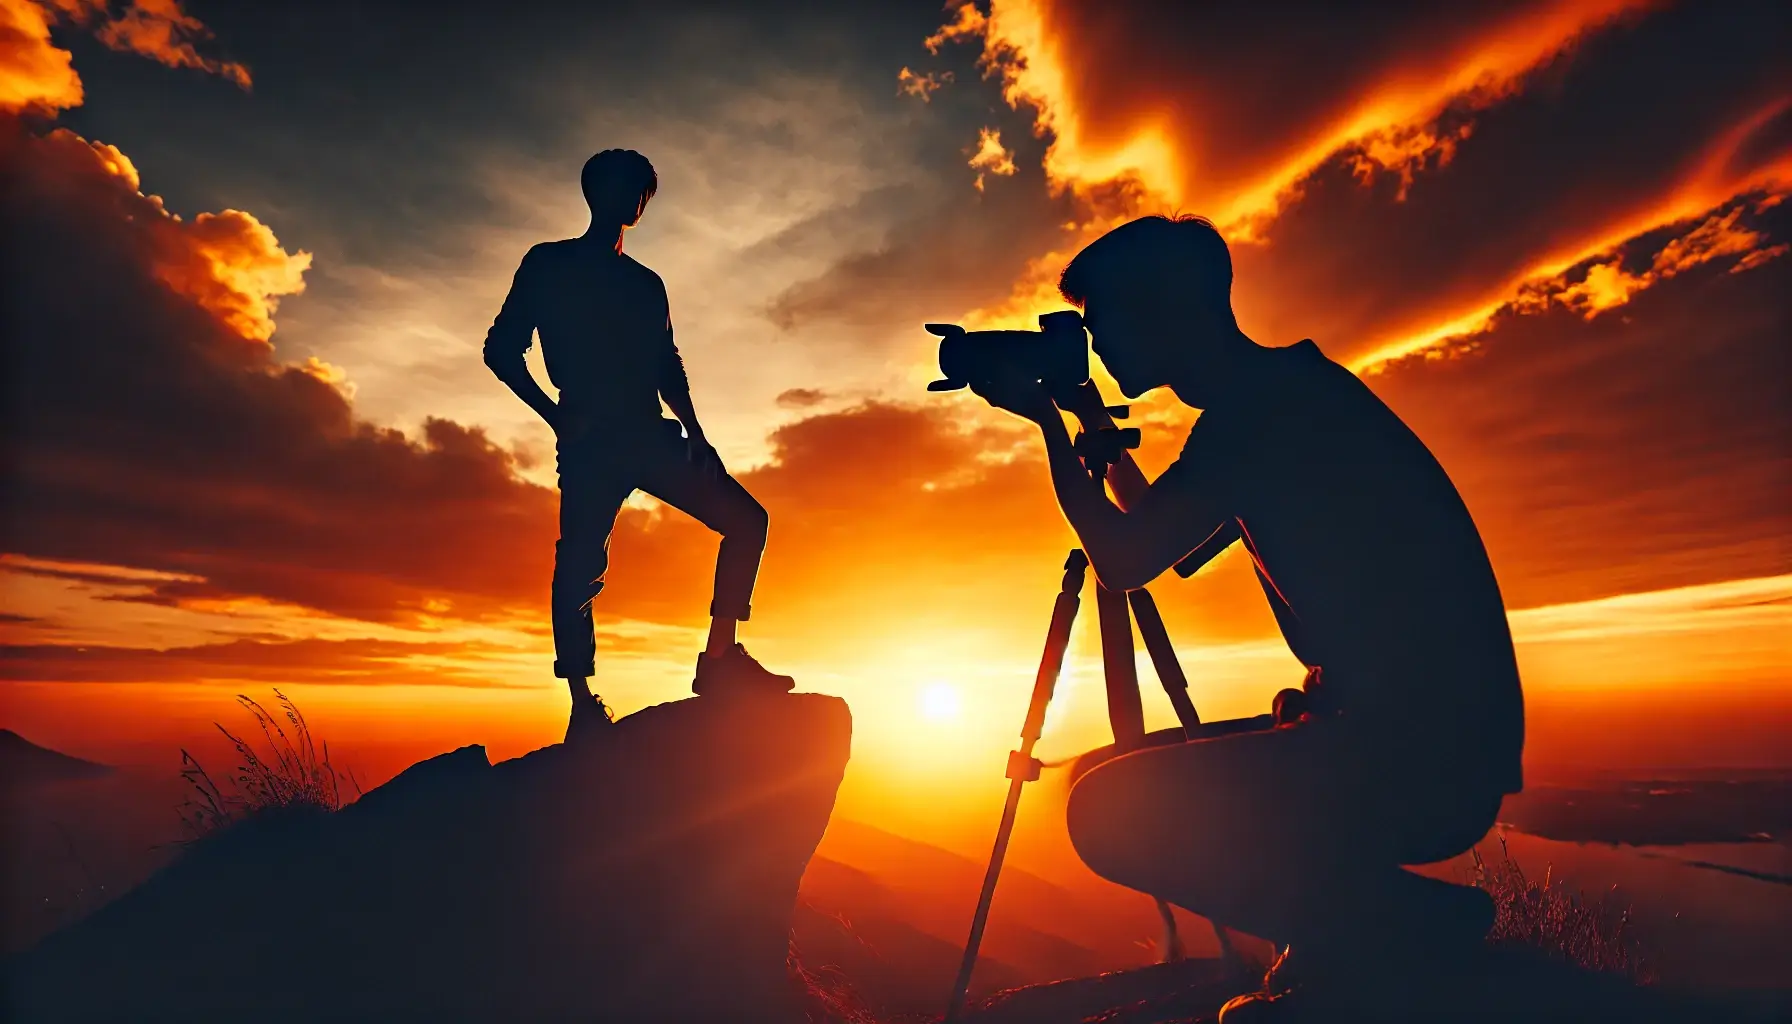
Silhouette photography is a powerful technique that emphasizes the shape and outline of a subject against a bright background, often resulting in striking, minimalist images. By focusing on the subject’s outline and ignoring details, silhouette photography creates dramatic and emotional effects, where the subject is reduced to a dark, shadowy shape, allowing the light to tell the story.
In this article, we’ll explore the essential tips and techniques for capturing stunning silhouette photography, including the best settings, lighting, composition, and post-processing.
What is Silhouette Photography?
Silhouette photography involves shooting a subject against a strong light source, such as the sun or a bright sky, so that the subject appears as a dark shape or outline. In silhouette images, the subject is intentionally underexposed, which causes it to appear as a black shape with little to no detail. The focus is on the subject’s shape, form, and positioning rather than its colors or textures.
This technique works best with backlighting and can produce dramatic, high-contrast images that emphasize the subject’s outline, mood, and emotional impact.
Essential Equipment for Silhouette Photography
To capture stunning silhouette images, you don’t need a lot of specialized equipment. However, having the right gear can help you achieve the best results.
1. Camera with Manual Controls
A camera with manual settings is essential for silhouette photography, as you need full control over exposure. DSLRs and mirrorless cameras are ideal, allowing you to adjust the aperture, shutter speed, and ISO to achieve the desired effect.
- Tip: A camera with a fast burst rate (10 frames per second or higher) is useful for capturing moments of action when shooting subjects like people or animals.
2. Wide-Angle or Standard Lens
For silhouette photography, a wide-angle or standard lens works well, especially when you want to capture expansive landscapes, sunsets, or groups of people. A lens in the range of 24mm to 50mm is ideal for most silhouette shots.
- Tip: If you’re capturing a subject with intricate details (like a person or animal), consider using a longer lens (e.g., 85mm to 200mm) to separate the subject from the background.
3. Tripod
A tripod helps stabilize your camera, especially in low-light conditions when you’re using slower shutter speeds to capture the background light.
- Tip: A sturdy tripod is essential when shooting in dim lighting, such as sunsets or sunrises, to prevent camera shake and ensure sharp images.
4. External Flash or Reflector
Although silhouettes are typically shot without additional lighting on the subject, you can use an external flash or reflector to fill in some details if desired. This can add dimension and soften the edges of the silhouette, but be careful not to overpower the backlighting.
- Tip: A diffuser can help soften the flash for a more natural look, especially when you want to retain some details in the subject.
Camera Settings for Silhouette Photography
Achieving a perfect silhouette shot requires precise camera settings to ensure that the subject appears dark and the background is brightly lit. Here’s how to set up your camera for silhouette photography:
1. Set the Exposure for the Background Light
The key to silhouette photography is exposing for the bright light in the background, not the subject. This will ensure that the subject is underexposed and appears as a dark shape.
- Tip: Use spot metering or center-weighted metering to expose for the bright background (like the sun or sky) while keeping the subject dark.
2. Shutter Speed: Use a Moderate Speed
To properly expose the background light, set a moderate shutter speed (e.g., 1/500 to 1/1000 second). This allows the background light to shine through and prevents overexposure.
- Tip: If you’re capturing a moving subject, increase the shutter speed to freeze motion and maintain sharpness in the silhouette.
3. Aperture: Use a Small Aperture for Greater Depth of Field
Use a smaller aperture (higher f-stop) like f/8 or f/11 to ensure that both the subject and background are in focus. This is particularly important when photographing large landscapes or groups of people, as you want to keep everything sharp.
- Tip: Be careful not to use an aperture that’s too small (e.g., f/22), as this can lead to diffraction and reduce image sharpness.
4. ISO: Keep ISO Low
For silhouette shots, keep your ISO as low as possible (ISO 100 or 200) to reduce noise and maintain image quality. Since you’re exposing for bright light in the background, you may need to adjust the aperture and shutter speed to maintain proper exposure.
- Tip: If you’re shooting in dim lighting conditions (like sunsets or sunrises), you may need to increase the ISO slightly to maintain the correct exposure.
5. Focus on the Subject
In silhouette photography, you want the focus to be on the subject’s shape or outline. Use manual focus to lock in the focus and prevent the camera from trying to refocus on the background.
- Tip: Focus on the subject before you take the shot, especially if it’s moving or if the background light is causing autofocus issues.
Composition Tips for Silhouette Photography
Composition is crucial for creating impactful silhouette images. Here are some tips to help you compose your silhouette shots effectively:
1. Simplify the Scene
Silhouette photography is most effective when the subject is isolated against a simple, uncluttered background. This allows the subject’s shape to stand out clearly and prevents distractions from taking away attention.
- Tip: Use wide open spaces or clear skies as the background to avoid distracting elements.
2. Use the Rule of Thirds
The rule of thirds is an effective compositional technique in silhouette photography. Imagine dividing your frame into a 3×3 grid, and place your subject along one of the grid lines or at the intersection points. This creates a more balanced and visually appealing composition.
- Tip: Position your subject off-center to add dynamic energy to the image, especially if there’s movement in the shot.
3. Capture the Shape, Not the Details
The power of silhouette photography lies in the subject’s shape and outline, not in the details. Focus on capturing the subject’s distinctive features, such as the curves of a person’s profile, the outline of a tree, or the wing shape of a bird in flight.
- Tip: Look for recognizable and bold shapes that stand out against the bright background.
4. Frame the Subject Creatively
Use natural frames, such as tree branches, doorways, or windows, to create a more interesting composition and draw attention to the silhouette.
- Tip: Look for opportunities to use reflections or frames within the scene to highlight your subject and add depth to the image.
5. Incorporate Motion
Silhouettes of moving subjects, such as people walking or birds flying, can add a dynamic element to the shot. Capturing motion in silhouette photography can convey a sense of action, energy, and emotion.
- Tip: Use a slightly slower shutter speed to capture motion blur in your subject’s movement for a more dramatic effect.
Post-Processing Tips for Silhouette Photography
Post-processing can enhance your silhouette photos and bring out the best in the image. Here are some editing tips:
1. Increase Contrast
Boosting the contrast helps to make the subject stand out more sharply against the background light. In silhouette photography, high contrast is key to creating bold, dramatic images.
- Tip: Increase the black point and reduce the whites to enhance the silhouette effect.
2. Enhance the Background Light
If the background light is not as dramatic as you would like, you can enhance it in post-processing by adjusting the exposure or adding color gradients. This helps to create a more striking and vivid effect.
- Tip: Use tools like radial filters to selectively enhance the brightness or warmth of the background light.
3. Fine-Tune the Exposure
If the silhouette is too dark or too light, adjust the exposure to balance the image. Since silhouette photography is about the subject being underexposed, fine-tuning the exposure helps achieve the right balance.
- Tip: Use local adjustment tools to adjust specific areas of the image without affecting the entire frame.
Conclusion
Silhouette photography is a creative and powerful technique that allows you to emphasize the shape and form of a subject, creating bold and striking images. By using the right camera settings, composition techniques, and post-processing tools, you can capture silhouettes that evoke emotion and tell a story. Whether you’re photographing people, nature, or architecture, silhouette photography offers a unique and artistic way to portray your subjects.