Capturing stunning landscape photographs doesn’t require a professional camera or a long list of expensive gear. Whether you’re using a smartphone or a dedicated camera, there are plenty of ways to make the most out of the equipment you have. With the right techniques and a bit of creativity, you can create breathtaking landscape photos that make the most of your surroundings.
In this article, we’ll explore how to take amazing landscape photos, whether you’re using your phone or a dedicated camera. We’ll discuss important tips for both types of devices, focusing on composition, lighting, and technical settings.
1. Composition is Key
One of the most important aspects of landscape photography is composition. The way you frame your shot can completely change the impact of the final image. Whether you’re using a phone or a camera, the rule of thirds is a helpful guideline.
The Rule of Thirds
The rule of thirds involves dividing your image into a 3×3 grid. Place your key elements—such as the horizon, trees, or focal points—along these lines or at their intersections. This creates a balanced, aesthetically pleasing image and prevents your photo from feeling static or centered in an uninteresting way.
Leading Lines
Incorporating leading lines—such as rivers, roads, or trails—can help guide the viewer’s eye through the photo. Lines that lead toward the horizon or a focal point can create depth and draw attention to the subject.
Framing the Shot
Look for natural elements that can help frame your subject. Trees, branches, or rocks can act as frames, helping to direct the viewer’s focus toward the main elements in the photo.
2. Focus on Lighting
Lighting can make or break a landscape photo. Whether you’re using a phone or a camera, understanding and working with natural light is crucial for capturing stunning landscapes.
Golden Hour
The golden hour, which occurs shortly after sunrise and just before sunset, provides soft, warm lighting that enhances the colors and textures in your landscape shots. This time of day is ideal for landscape photography, as the light is diffused and less harsh, creating a gentle glow.
Avoid Midday Sun
The light during midday is typically harsh and can create strong shadows and highlights that are difficult to work with. If you must shoot during midday, try to find shaded areas or use the camera’s settings to minimize the contrast in the scene.
Use Natural Light Creatively
When photographing landscapes, experiment with how light interacts with your scene. Backlighting can create silhouettes, while side lighting can accentuate texture and shape. Try shooting toward the light source for a more dramatic or ethereal effect.
3. Understand Your Camera or Phone Settings
While smartphones make it easy to take photos with automatic settings, dedicated cameras give you more control over the technical aspects of your image. Understanding how to adjust settings like ISO, aperture, and shutter speed can help you take better landscape photos.
Phone Settings
Modern smartphones come with a variety of features that allow you to tweak the exposure, focus, and color settings. Many phones also have dedicated landscape or HDR (High Dynamic Range) modes, which help capture scenes with high contrast, like sunsets or bright skies.
- Tap to Focus: Make sure to tap on the area you want to focus on, such as a tree, mountain, or building in the distance. This ensures that the important elements in your frame are sharp.
- HDR Mode: When shooting high-contrast scenes (like landscapes with bright skies and dark foregrounds), use the HDR mode. This will combine multiple exposures to create a balanced image.
- Manual Mode (if available): Some smartphones allow you to manually adjust settings such as ISO and shutter speed, which gives you greater control over the final result.
Camera Settings
If you’re using a dedicated camera, understanding how to control the exposure triangle (shutter speed, aperture, and ISO) will help you capture the perfect landscape photo.
- Aperture: A smaller aperture (higher f-number, such as f/8 to f/16) is ideal for landscapes, as it provides a greater depth of field, ensuring that both the foreground and background are in focus.
- Shutter Speed: A slow shutter speed (such as 1/30 or longer) can create smooth effects for water or clouds, while faster shutter speeds are better for freezing movement, such as trees in the wind.
- ISO: Keep your ISO as low as possible (ISO 100-400) to avoid noise, especially when shooting during the day. In low light, you may need to increase the ISO, but try to avoid going too high to maintain image quality.
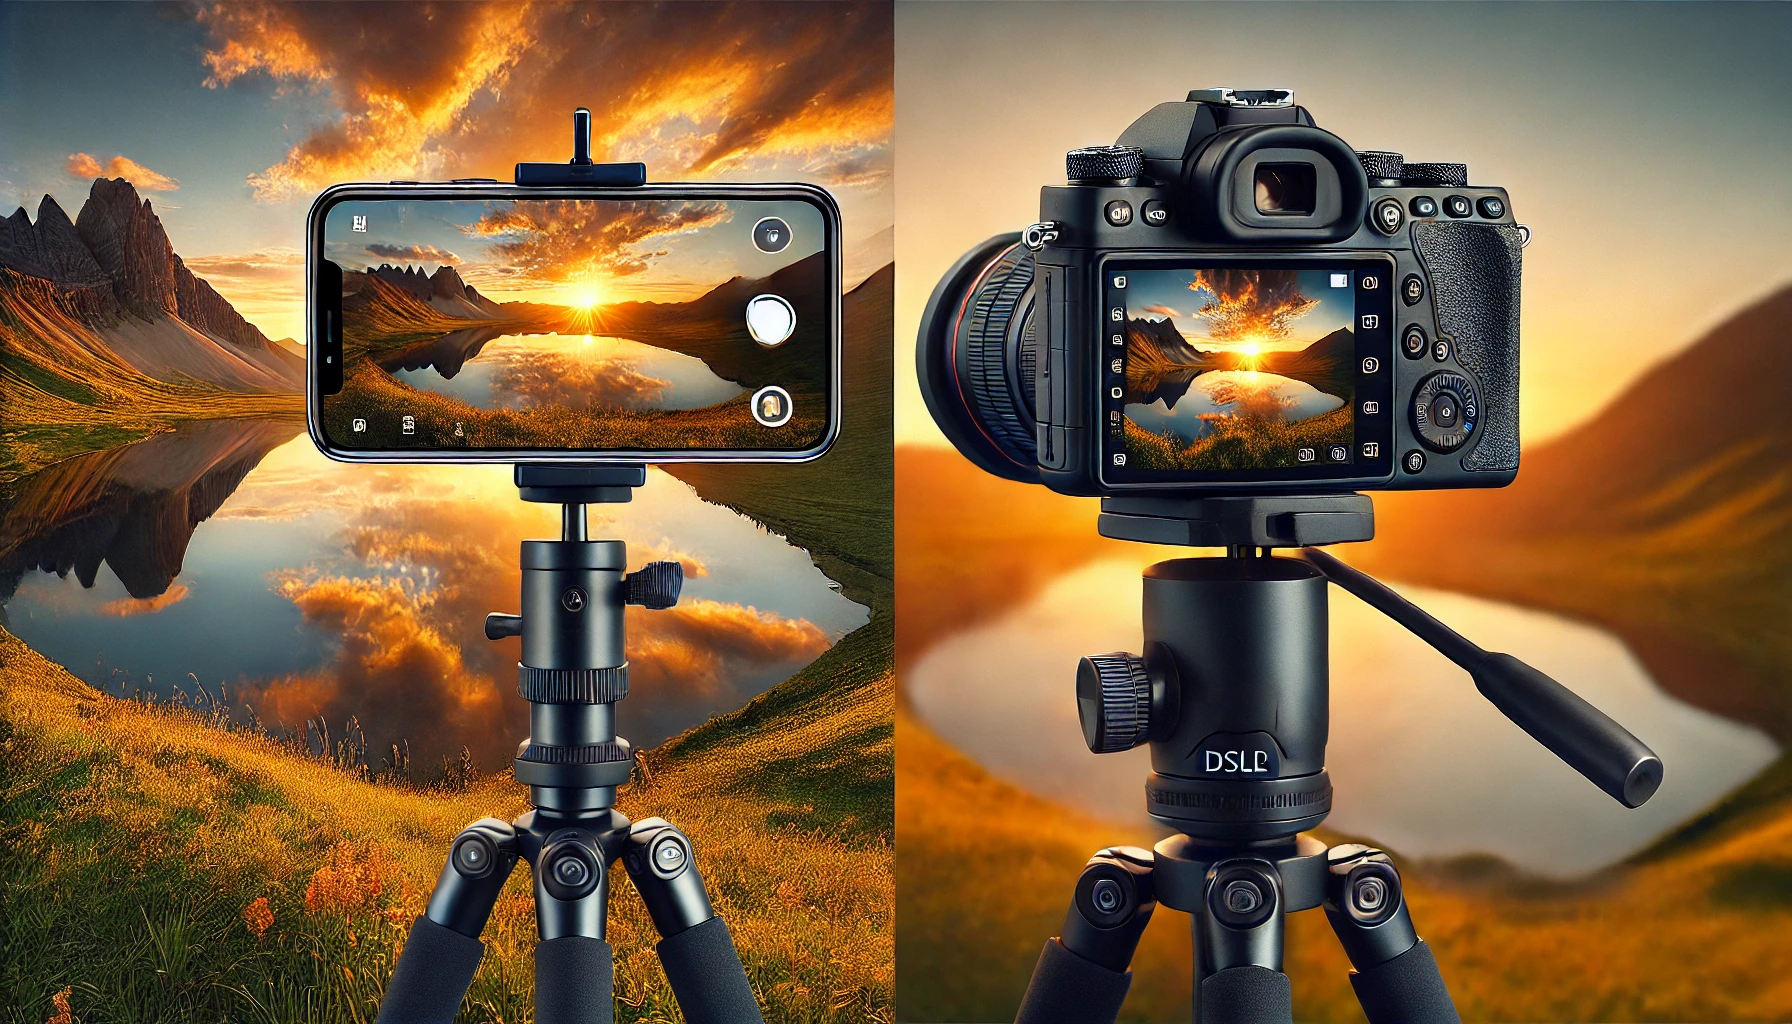
4. Use a Tripod
Whether you’re using a smartphone or a camera, a tripod can make a big difference in the quality of your landscape shots. A tripod helps eliminate camera shake, ensuring your images are sharp, especially when using slow shutter speeds or shooting in low light.
Phone Tripods
For smartphone photographers, mini tripods or smartphone tripod mounts are a great way to stabilize your phone. Many phone tripods are lightweight and portable, making them easy to carry for hiking or travel.
Camera Tripods
For DSLR or mirrorless cameras, a sturdy tripod is essential for landscape photography. A tripod allows you to take long-exposure shots (such as capturing the motion of waterfalls or clouds) and ensures that you get crisp, clear images, even in low light.
5. Focus on Depth and Layers
Adding depth to your landscape photos can make them feel more immersive and dynamic. To achieve this, try to include foreground elements (like rocks, flowers, or grass) in the lower part of the frame, with the middle and background showing expansive views.
Foreground Interest
Incorporating interesting elements in the foreground gives your photo a sense of scale and leads the viewer’s eye through the image. Use wide-angle lenses to capture more of the scene and create a sense of vastness.
Layering the Scene
Think of your landscape image in layers: foreground, middle ground, and background. By positioning elements in each of these layers, you create a more engaging composition that invites the viewer to explore the entire scene.
6. Edit Your Photos
After capturing your landscape shot, use editing software to enhance the colors, contrast, and sharpness. Editing allows you to bring out the details in shadows and highlights and correct any exposure issues.
- Phone Editing Apps: Popular apps like Snapseed, Lightroom Mobile, or VSCO offer powerful tools for adjusting exposure, saturation, contrast, and sharpness.
- Camera Editing: When editing photos from a camera, programs like Adobe Lightroom and Photoshop give you full control over the editing process, allowing you to fine-tune every aspect of your image.
Conclusion
Whether you’re using a smartphone or a dedicated camera, capturing beautiful landscape photos is all about understanding light, composition, and your equipment’s settings. By focusing on elements like the rule of thirds, leading lines, and depth, you can create striking images. Don’t forget to experiment with the light at different times of day, use a tripod for stability, and take the time to edit your photos to bring out their full potential. With practice and a little creativity, you’ll be able to capture stunning landscapes no matter what gear you’re using.