Architectural photography is all about capturing the design, details, and beauty of buildings and structures. Whether you’re photographing modern skyscrapers, historical landmarks, or the interior of a building, architectural photography requires a unique set of skills to capture the subject in a way that showcases its form, function, and beauty.
In this article, we’ll explore essential tips and techniques for mastering architectural photography, from composition and lighting to the best equipment and post-processing tips.
Understanding Architectural Photography
Architectural photography is a specialized genre that requires both technical precision and an artistic approach. When photographing architecture, the goal is not just to take a picture of a building but to capture the essence of its design and context.
There are several challenges in architectural photography, including perspective distortion, lighting, and capturing the right details. However, with the right approach and equipment, you can create striking images that showcase a building in its best light.
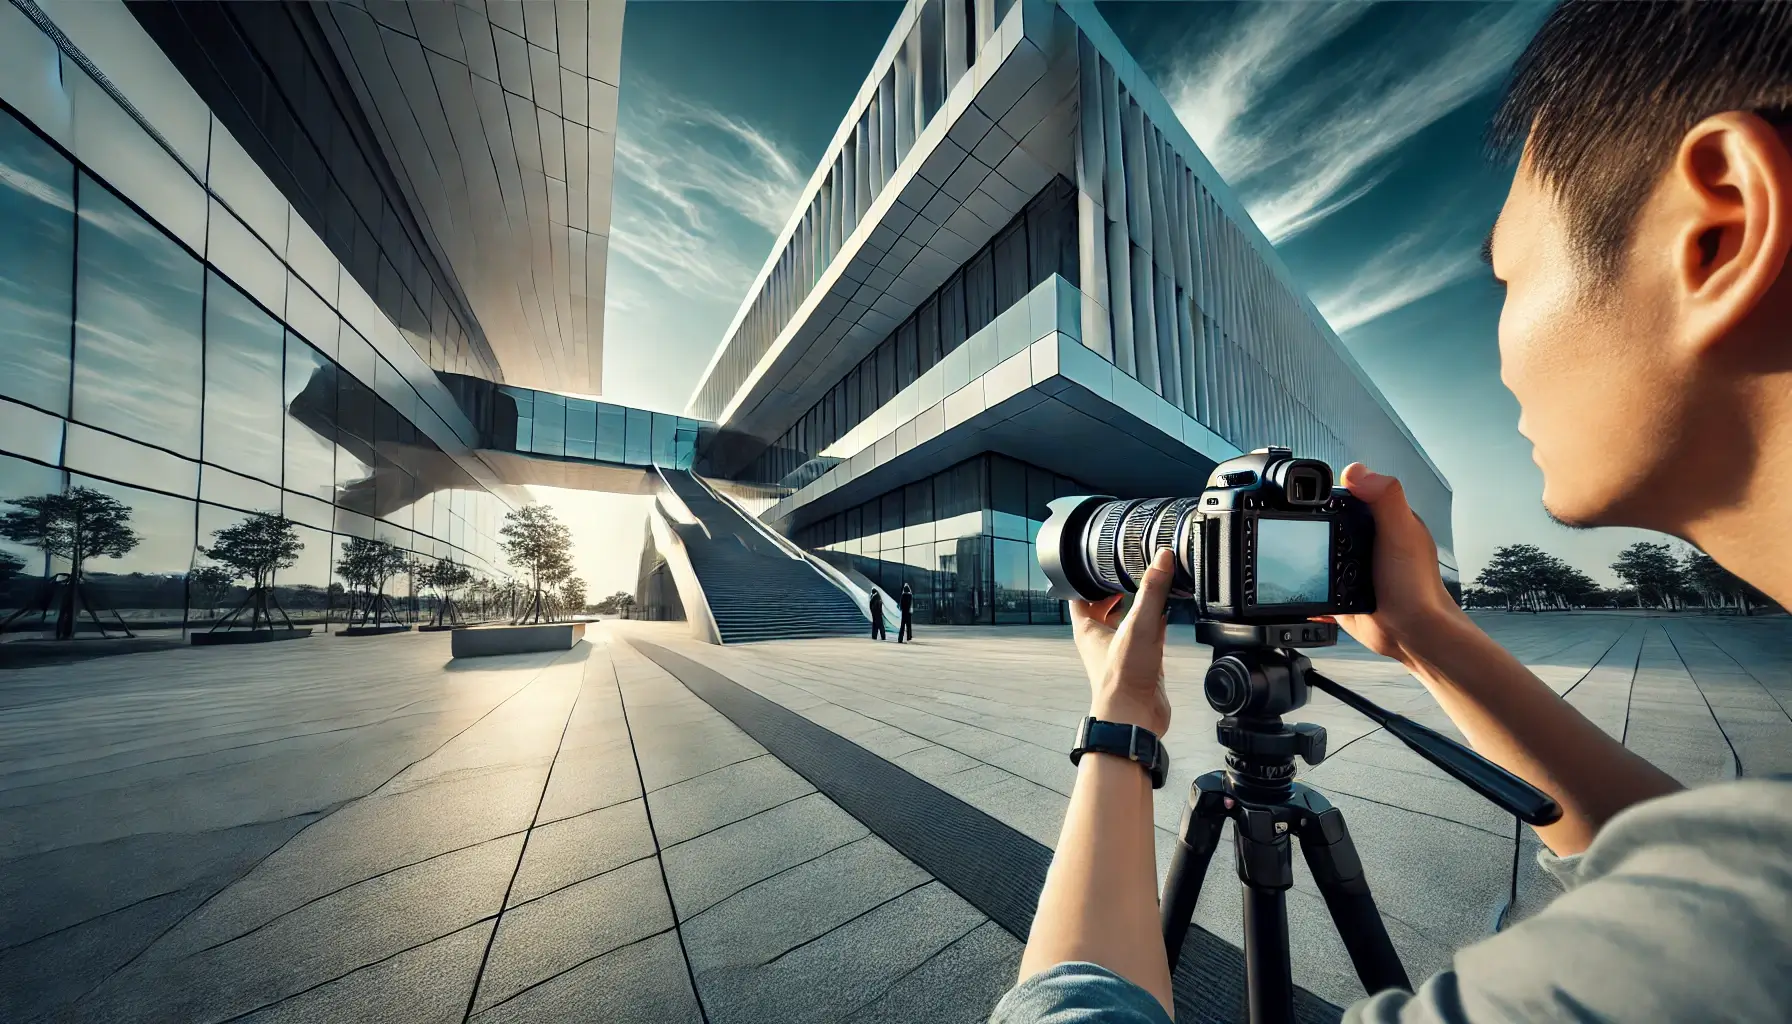
Essential Equipment for Architectural Photography
While you don’t need a lot of expensive equipment to get started with architectural photography, there are a few key tools that can help you achieve the best results.
1. Camera with Manual Controls
To have full control over your exposure and settings, you’ll need a camera that allows you to shoot in manual mode. Most DSLRs and mirrorless cameras offer manual settings, which are crucial for architectural photography. This will allow you to adjust the aperture, shutter speed, and ISO independently, giving you full creative control.
2. Wide-Angle Lens
A wide-angle lens is essential for architectural photography, as it allows you to capture large buildings or rooms in their entirety. Lenses in the range of 16mm to 35mm are ideal for this type of photography.
- Tip: Be careful not to distort the building’s lines too much. Wide-angle lenses can cause “keystone effect” (where vertical lines appear to slant inward), so make sure to adjust your position to minimize distortion.
3. Tilt-Shift Lens (Optional)
A tilt-shift lens is a specialized lens that helps correct perspective distortion, especially when photographing tall buildings. By adjusting the lens’s tilt and shift functions, you can keep vertical lines straight, avoiding the “falling over” effect that often occurs with wide-angle lenses.
- Tip: While tilt-shift lenses can be expensive, they are highly useful for professional architectural photography, especially in urban settings.
4. Tripod
A sturdy tripod is essential for architectural photography, especially if you’re shooting in low-light conditions or need precise framing. A tripod allows you to keep the camera stable during longer exposures and gives you more control over composition and alignment.
5. Remote Shutter Release
To avoid any camera shake when pressing the shutter button, use a remote shutter release or your camera’s self-timer function. This is particularly important when shooting at slow shutter speeds.
Camera Settings for Architectural Photography
Getting the right settings is key to capturing sharp, well-exposed architectural photos. Here’s how to adjust your camera settings for optimal results:
1. Use a Small Aperture (f/8 – f/11)
To ensure sharpness from the foreground to the background, use a smaller aperture (higher f-stop number) such as f/8 or f/11. This gives you a deep depth of field, keeping the entire building or interior in focus.
- Tip: Be cautious of diffraction, which can soften the image at very small apertures like f/22. If sharpness becomes an issue, try a slightly larger aperture (e.g., f/11).
2. Adjust Shutter Speed for Proper Exposure
In architectural photography, you may need to adjust your shutter speed depending on the lighting conditions. For bright daylight, use faster shutter speeds, but for interior shots or low-light conditions, you might need to use slower shutter speeds.
- Tip: Use a tripod when using slower shutter speeds (longer than 1/60 second) to prevent camera shake and ensure sharp images.
3. Set ISO as Low as Possible (ISO 100-400)
Architectural photography usually involves shooting in well-lit environments, so a low ISO (ISO 100 or 200) is ideal to avoid noise and grain. For interiors or low-light situations, you can increase the ISO, but keep it as low as possible to maintain the image quality.
4. Use Manual Focus for Precision
In architectural photography, you’ll want to ensure your focus is precise, especially when photographing intricate details or wide spaces. Set your camera to manual focus to avoid autofocus errors and ensure that the important elements are sharp.
Techniques for Great Architectural Composition
Composition plays a critical role in architectural photography. Here are some compositional techniques to help you capture striking architectural images:
1. Use Leading Lines
Leading lines are an effective compositional tool to guide the viewer’s eye toward the focal point of the image. Look for natural or architectural lines such as pathways, staircases, or the edges of buildings that lead the viewer’s eye toward the subject.
2. Include Foreground Elements for Depth
Adding foreground elements to your architectural shots helps create a sense of depth and dimension. These elements can include trees, people, or smaller architectural features that give context to the building.
- Tip: Be careful not to overcrowd the scene, as this can take away from the main architectural subject.
3. Avoid Distortion (Use Correct Perspective)
Architectural photography often suffers from distortion, especially when shooting tall buildings with wide-angle lenses. To minimize distortion, try to keep the camera level and avoid tilting it too much. If you’re using a wide-angle lens, try to shoot from a higher or lower angle to reduce the “keystone effect.”
- Tip: If you’re photographing an interior space, shoot from a corner to capture the room’s full depth.
4. Play with Symmetry and Reflections
Architecture often involves symmetrical designs, and these can create visually appealing images. Look for opportunities to capture symmetry in the building’s design, whether it’s through windows, doors, or other architectural elements.
Additionally, reflections in windows, water, or glass surfaces can add an artistic touch to architectural photos. Experiment with different angles to incorporate these reflections creatively.
Lighting Techniques for Architectural Photography
Lighting can transform an ordinary architectural photo into a striking image. Here’s how to make the most of natural and artificial lighting:
1. Golden Hour for Exterior Shots
The golden hour, just after sunrise or before sunset, provides soft, warm light that can enhance the textures and details of a building’s exterior. The low-angle light during this time adds depth and dimension to the architecture.
- Tip: Shoot early in the morning or late in the afternoon to capture buildings in the best light.
2. Artificial Light for Interiors
For interior architectural shots, you’ll often need to rely on artificial light sources. Use available light from windows, lamps, or light fixtures to illuminate the space. You can also use external flashes or continuous lighting to fill in shadows and highlight architectural details.
- Tip: Experiment with light positioning to create interesting shadows and emphasize the shapes of furniture, walls, and ceilings.
3. Night Photography for Urban Architecture
Urban architecture often looks stunning at night, with illuminated buildings and streetlights. Long exposure shots of cityscapes can capture the glowing lights of skyscrapers and streets, adding a dynamic element to the architecture.
Post-Processing Architectural Photos
Post-processing is an essential step in architectural photography. Here are some tips for editing your architectural images:
1. Correct Perspective Distortion
In post-processing, you can use tools like Lightroom or Photoshop to correct any perspective distortion (e.g., keystone effect) that may occur when shooting tall buildings. Use the upright tool or the lens correction tool to straighten lines and ensure that verticals appear vertical.
2. Enhance the Details
Enhance the sharpness and contrast of the image to bring out the fine architectural details. Use the clarity slider to add definition to textures and improve the overall depth of the photo.
3. Adjust Exposure and Colors
Make sure the exposure is balanced and adjust the white balance to ensure natural-looking colors, especially when shooting in different lighting conditions. You can also use the vibrance and saturation tools to bring out the colors of the building and surrounding environment.
Conclusion
Architectural photography is a fascinating and rewarding genre that allows you to capture the beauty, design, and details of buildings and structures. With the right equipment, camera settings, and composition techniques, you can create stunning architectural photos that showcase the subject in a way that highlights its form, function, and aesthetics.
By understanding the challenges and opportunities that architectural photography presents, you can hone your skills and develop a style that brings buildings to life through the lens of your camera.