Long exposure photography is a technique that allows you to capture beautiful, ethereal effects by using slower shutter speeds. This technique can create stunning results, from soft, flowing waterfalls to dramatic light trails and dreamy seascapes. By allowing more light into the camera for an extended period, long exposure photography helps reveal details that are typically invisible to the naked eye.
In this article, we’ll explore the essential techniques for mastering long exposure photography, from equipment and settings to composition and post-processing tips.
What is Long Exposure Photography?
Long exposure photography involves using a slow shutter speed to capture light over a longer period of time, allowing the camera to record motion and create a sense of movement or blur in the image. This technique is particularly effective for capturing subjects like water, clouds, and light trails, and it helps to transform everyday scenes into dramatic, surreal images.
Some common effects achieved with long exposure include:
- Smooth Water: Creating a soft, silky effect on lakes, rivers, or waterfalls.
- Light Trails: Capturing the movement of lights, such as car headlights or city lights, as they create streaks in the image.
- Cloud Movement: Blurring the movement of clouds to create a sense of motion in the sky.
- Milky Way and Star Trails: Capturing the movement of stars across the night sky.
Essential Equipment for Long Exposure Photography
While long exposure photography can be done with any camera, using the right equipment can help you achieve better results. Here’s what you’ll need:
1. Camera with Manual Mode
To control the shutter speed and other settings, you need a camera that offers manual controls. Most DSLRs and mirrorless cameras allow you to adjust the shutter speed, aperture, and ISO independently, which is essential for long exposure photography.
2. Tripod
A tripod is absolutely essential for long exposure photography. Since the shutter is open for an extended period, even the slightest camera shake will result in a blurry image. A sturdy tripod ensures that your camera remains perfectly still during the exposure.
When choosing a tripod, look for one that is stable and capable of handling the weight of your camera and lens, especially if you’re using a telephoto lens for long exposure shots.
3. ND Filter (Neutral Density Filter)
An ND filter is a must-have for long exposure photography, particularly when shooting in daylight. ND filters reduce the amount of light entering the camera, allowing you to use slower shutter speeds even in bright conditions. This is especially important for capturing long exposures during the day, such as silky smooth water or clouds moving across the sky.
ND filters come in various strengths, typically measured in stops (e.g., 3-stop, 6-stop, or 10-stop filters). The higher the stop value, the more light the filter blocks, allowing you to use even slower shutter speeds.
4. Remote Shutter Release or Self-Timer
Using a remote shutter release or the camera’s self-timer function helps to eliminate camera shake when pressing the shutter button. This is especially important when shooting at longer shutter speeds, as even the slightest movement can affect the sharpness of your image.
How to Set Up Your Camera for Long Exposure Shots
Once you have the right equipment, it’s time to set up your camera for the perfect long exposure shot. Here are the steps to follow:
1. Set Your Camera to Manual Mode
To have full control over your exposure settings, switch your camera to manual mode. This will allow you to independently adjust the shutter speed, aperture, and ISO to get the desired effect.
2. Adjust Shutter Speed
The key element in long exposure photography is the shutter speed. A slow shutter speed (e.g., 1/2 second, 5 seconds, or even minutes) will allow more light to enter the camera, creating the long exposure effect.
- For smooth water, try shutter speeds between 1/2 second and 10 seconds, depending on how much motion you want to capture.
- For light trails, use a shutter speed of several seconds to capture the movement of lights over time.
- For star trails, exposures of 15 minutes or more are often required, depending on the movement of the stars.
3. Adjust Aperture (f-stop)
The aperture (f-stop) controls the amount of light entering the camera and the depth of field. For long exposure photography, it’s generally best to use a smaller aperture (higher f-stop) like f/8 or f/11. This helps ensure a sharp image from the foreground to the background, particularly in landscape photography.
However, be mindful of diffraction, which can reduce sharpness at very small apertures (e.g., f/22). If you want to keep the exposure long but maintain sharpness, aim for an aperture of around f/8.
4. Set Your ISO
To avoid overexposure during a long exposure, you’ll want to keep your ISO as low as possible. Use ISO 100 or 200 for optimal image quality and to reduce the chance of noise. Increasing the ISO will make the sensor more sensitive to light, but it may also introduce unwanted grain into the image.
5. Use Live View or a Remote Shutter
To ensure that the exposure is accurate and the composition is perfect, use your camera’s live view mode or set up a remote shutter release. Using a remote shutter will help minimize camera shake, ensuring that your image stays sharp and steady.
Creative Long Exposure Photography Techniques
Once you’ve mastered the basics of long exposure photography, you can experiment with creative techniques to add unique effects to your images.
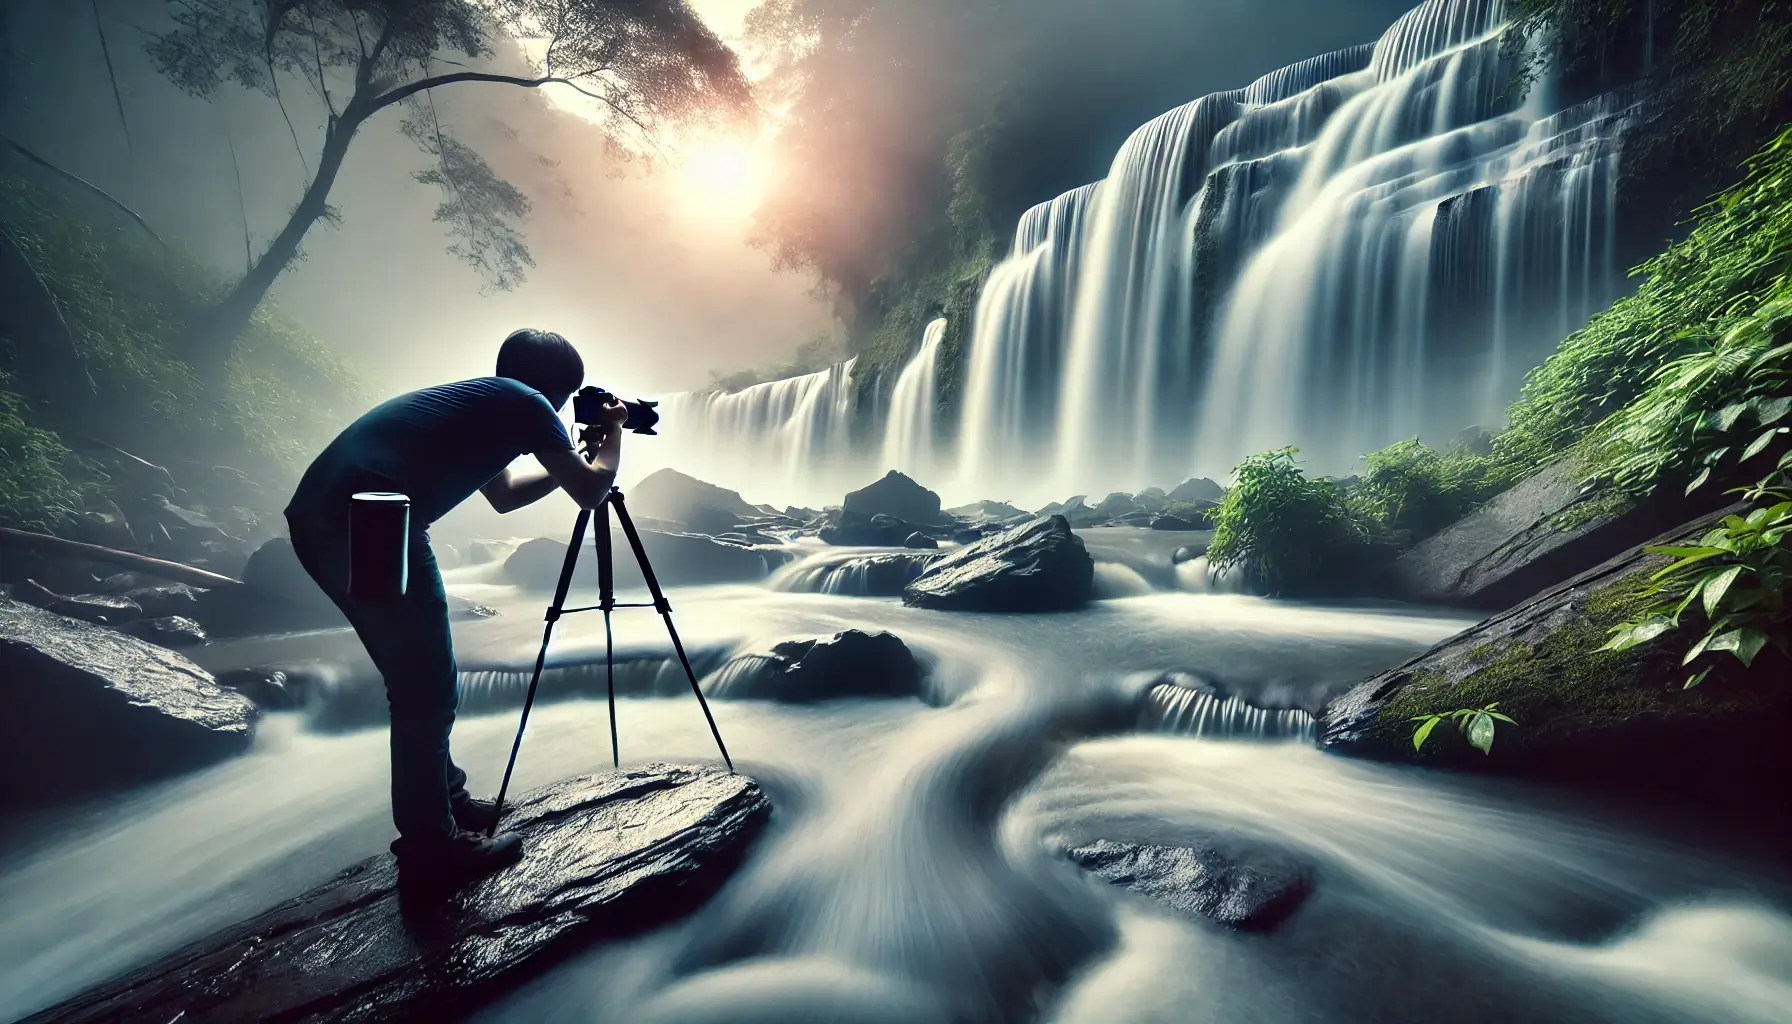
1. Waterfalls and Oceans
Long exposure is particularly effective for capturing the motion of water. Whether it’s the soft flow of a stream or the crashing waves of the ocean, using a long exposure can turn moving water into a smooth, silky texture.
- For waterfalls, use a shutter speed between 1 second and 10 seconds, depending on the flow of the water. A slower shutter speed will create a more ethereal, dream-like effect.
- For oceans or lakes, use a longer exposure to smooth out the water and create a tranquil, misty effect.
2. Light Trails
Light trails are a fun and creative way to use long exposure photography. To capture light trails, set a slow shutter speed (e.g., 5 to 30 seconds) and photograph moving lights, such as car headlights or city lights at night.
- You can create interesting effects by photographing busy streets or highways, capturing the streaks of light as cars move through the scene.
3. Star Trails and Milky Way Photography
Capturing the movement of stars over time is one of the most awe-inspiring uses of long exposure photography. To capture star trails, use an exposure time of 15 minutes or longer. The stars will appear as trails of light moving across the sky, creating a dramatic effect.
For Milky Way photography, you’ll need to shoot with a wide aperture (e.g., f/2.8), a high ISO (e.g., 3200), and a fast shutter speed (e.g., 20 seconds) to prevent star trails and capture the galaxy in detail.
Post-Processing Long Exposure Photos
After you’ve taken your long exposure photos, you can enhance them further in post-processing. Here are a few tips:
1. Enhance the Colors
In Lightroom or Photoshop, adjust the vibrance and saturation to bring out the colors in your image. This is particularly useful for sunset or sunrise shots where the sky and clouds may have vibrant hues.
2. Sharpen the Image
Use the sharpening tool to enhance the details in your long exposure images. Be careful not to overdo it, as long exposures tend to capture more noise, especially in the shadows.
3. Reduce Noise
If you used a higher ISO to compensate for low light, you might notice some noise in the final image. Use noise reduction tools in Lightroom or Photoshop to minimize grain and smooth out the image.
Conclusion
Long exposure photography is a creative and rewarding technique that allows you to capture stunning, unique images. Whether you’re photographing waterfalls, light trails, or the movement of stars, mastering long exposure opens up a world of possibilities for your photography. With the right equipment, settings, and techniques, you can create breathtaking images that showcase the beauty of motion and light in ways that the human eye often misses.