Time-lapse photography is a technique that allows you to compress time, turning long periods into short, captivating videos. Whether you’re capturing the movement of clouds across the sky, a flower blooming, or the hustle and bustle of a city, time-lapse photography is an excellent way to showcase the beauty of change and motion over time. This genre requires patience, planning, and the right equipment to achieve stunning results.
In this article, we’ll explore the essential tips and techniques for capturing stunning time-lapse photography, including camera settings, equipment recommendations, and post-processing tips.
What is Time-Lapse Photography?
Time-lapse photography involves taking a series of photos at regular intervals and then playing them back at a faster speed. This technique compresses hours, days, or even weeks into a few seconds or minutes, allowing you to see slow changes or movements that are otherwise imperceptible. Time-lapse is often used to capture events like sunsets, clouds moving, flowers blooming, or construction projects, but it can also be used for more abstract and creative scenes.
The beauty of time-lapse photography is its ability to show the passage of time in a visually compelling way. It provides a unique perspective on events that are typically too slow to notice, giving life to moments that would otherwise go unseen.
Essential Equipment for Time-Lapse Photography
To create an effective time-lapse, you’ll need some specialized equipment that can capture the frames over time and maintain consistency in your images. Here’s what you’ll need:
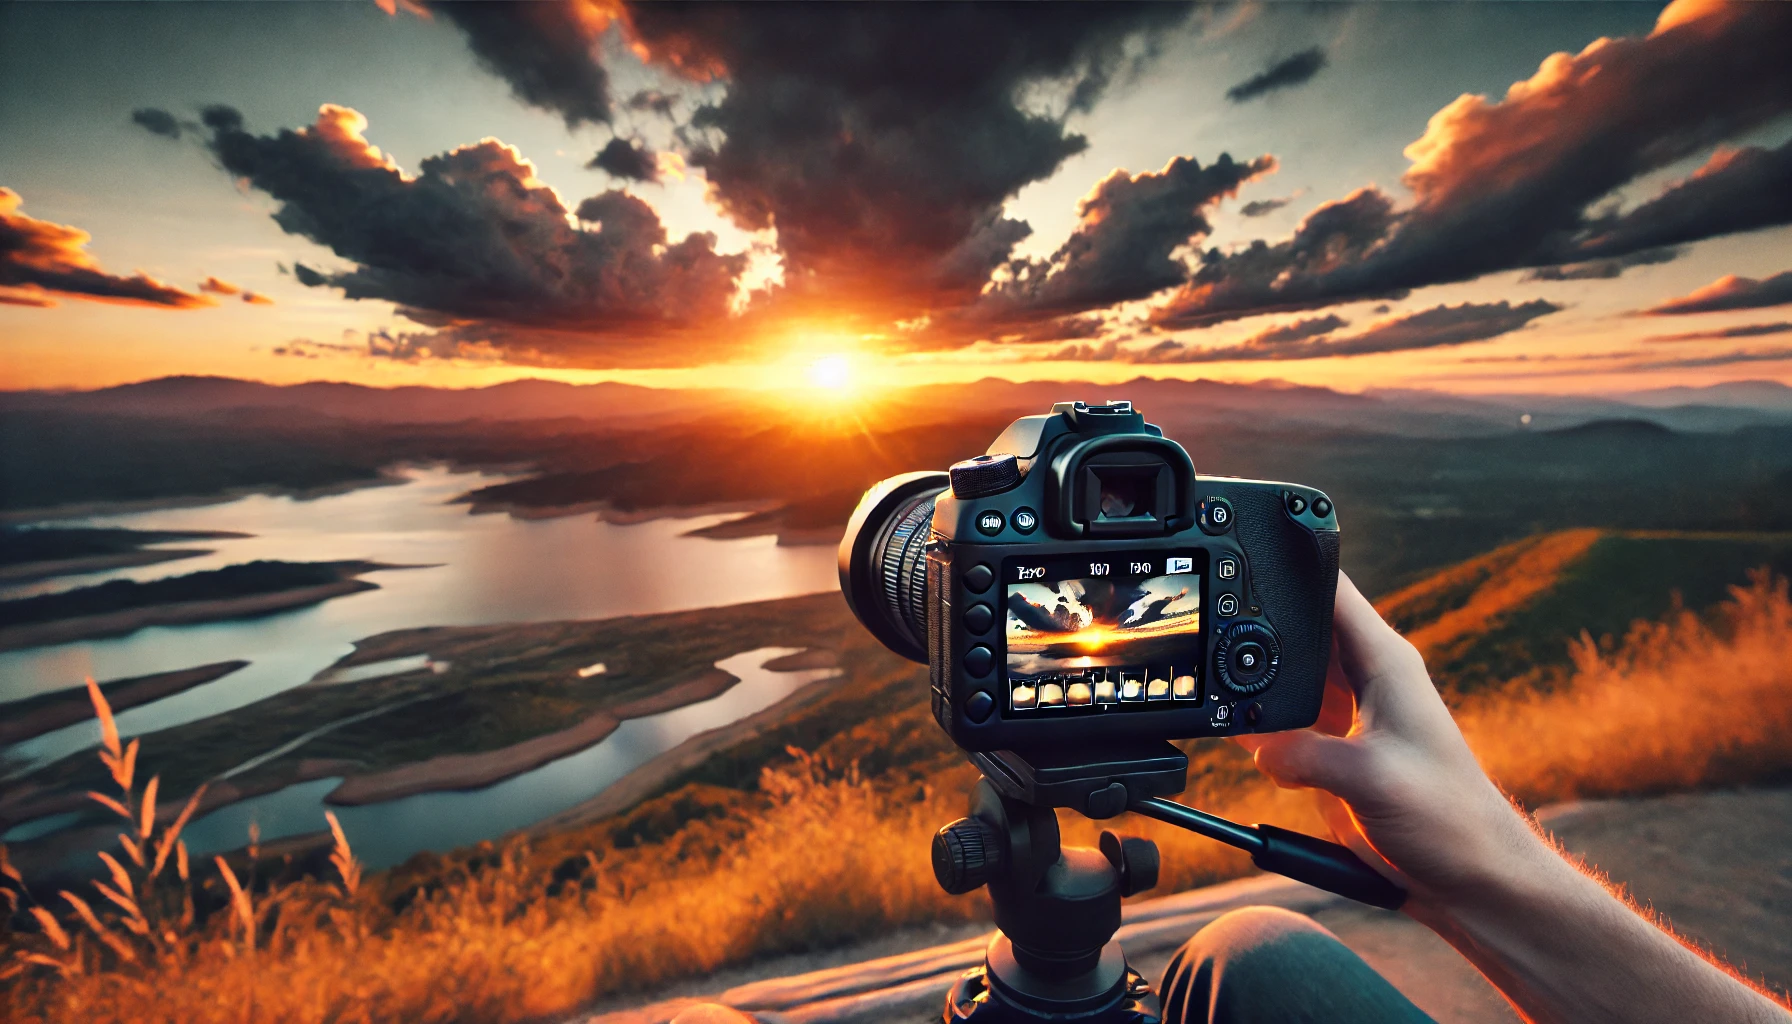
1. Camera with Manual Controls
A camera with manual settings is essential for time-lapse photography because you need to control exposure, aperture, shutter speed, and focus consistently throughout the shoot. DSLRs and mirrorless cameras are ideal because they allow you to adjust these settings precisely.
- Tip: A camera that can shoot in RAW format is highly recommended, as it provides more flexibility in post-processing.
2. Intervalometer or Built-in Time-Lapse Feature
An intervalometer is a device that allows you to program your camera to take photos at regular intervals. If your camera has a built-in time-lapse feature, this can help you automate the process.
- Tip: Many modern cameras come with intervalometers, or you can purchase one separately to set your intervals.
3. Sturdy Tripod
A sturdy tripod is crucial for time-lapse photography because even the slightest camera shake can ruin the continuity of the time-lapse sequence. Keeping the camera stable is important to ensure that the frames align smoothly.
- Tip: Use a tripod with adjustable legs to position the camera at different angles and heights, depending on your shot.
4. External Power Source
Since time-lapse photography often involves long shooting sessions, it’s important to ensure that your camera doesn’t run out of battery. Use an external power source or a battery grip to extend your camera’s shooting time.
- Tip: Bring extra batteries if you’re shooting outdoors and don’t have access to power.
5. ND Filters (Neutral Density Filters)
ND filters reduce the amount of light entering your lens, which is useful when shooting at longer intervals in bright lighting conditions. This allows you to use slower shutter speeds, which is essential for creating smooth motion in your time-lapse.
- Tip: ND filters are especially useful when shooting time-lapses during the day or in bright light conditions.
Camera Settings for Time-Lapse Photography
To create smooth and consistent time-lapse shots, it’s important to adjust your camera settings for optimal performance. Here’s what you need to know:
1. Shutter Speed
The shutter speed plays a critical role in time-lapse photography, as it determines how much light is captured in each frame. A slower shutter speed (e.g., 1/60 or 1/125) is ideal for smoother motion and capturing more details, but it will depend on the scene you are shooting.
- Tip: For a sunset or clouds moving, use a slower shutter speed to create a sense of smoothness and fluidity. For fast-moving subjects, like a busy street, use a faster shutter speed.
2. Aperture
To ensure sharp focus throughout the time-lapse, use a smaller aperture (higher f-stop), such as f/8 to f/16. This increases your depth of field, keeping both the foreground and background in focus.
- Tip: Avoid using apertures that are too small (e.g., f/22), as they can cause diffraction and reduce sharpness.
3. ISO
Keeping the ISO as low as possible (ISO 100 or 200) is essential to avoid introducing noise, especially if you’re shooting during a long exposure time. Higher ISO values can result in grainy images, which is not ideal for time-lapse sequences.
- Tip: Increase ISO only if you’re shooting in low light conditions or need a faster shutter speed.
4. Manual Focus
Autofocus can cause problems in time-lapse photography because it may refocus between frames, creating unwanted jumps in the sequence. Use manual focus to lock in focus on your subject and avoid these inconsistencies.
- Tip: Set the focus before starting the shoot, and leave it unchanged for the entire sequence.
5. White Balance
Set the white balance to manual or a fixed setting to prevent the colors from changing between frames. This ensures consistency in the color temperature across your time-lapse sequence.
- Tip: Use the “daylight” or “cloudy” setting for outdoor time-lapses during the day.
Composition Tips for Time-Lapse Photography
Composition is just as important in time-lapse photography as in any other genre. Here are some tips for creating compelling time-lapse shots:
1. Choose a Strong Subject
Pick a subject that will show clear motion or change over time. Good subjects include sunsets, moving clouds, plant growth, or crowds of people. You want to capture a transformation that happens gradually but is visually striking when condensed into a few seconds.
- Tip: Avoid overly static subjects, as they may not show enough change to make the time-lapse interesting.
2. Incorporate Leading Lines
Leading lines help guide the viewer’s eye through the time-lapse sequence. Use natural lines like roads, rivers, or paths to create a dynamic composition and give a sense of direction.
- Tip: Use the lines to lead the viewer’s attention toward the horizon, or your main subject, to create a more dynamic image.
3. Use the Rule of Thirds
Apply the rule of thirds to position the key elements of your scene in an aesthetically pleasing way. This simple guideline helps you create balanced and engaging images.
- Tip: Position the horizon along the lower third or top third of the frame, depending on whether you want to emphasize the sky or the foreground.
4. Plan for the Long Haul
Since time-lapse photography can take hours or even days, planning your shot carefully is important. Consider the lighting, weather, and movement in the scene, and make sure you’re in a safe, stable location.
- Tip: Scout the location beforehand to ensure it’s accessible and safe for long periods of time.
Post-Processing Tips for Time-Lapse Photography
Post-processing is a key part of time-lapse photography, as it allows you to refine your sequence and enhance the overall effect. Here are some tips for editing your time-lapse shots:
1. Stitch the Frames Together
Use software like Adobe Premiere Pro, Final Cut Pro, or even Lightroom to stitch your individual frames into a video. Set the frame rate to 24 or 30 frames per second to create a smooth transition between images.
- Tip: Use the video editing software to create the final time-lapse sequence by adjusting the speed of the images.
2. Enhance the Exposure and Colors
Adjust the exposure, contrast, and color saturation to make your time-lapse sequence pop. Time-lapses often benefit from increased contrast and vibrancy, which can make the transitions more striking.
- Tip: Use a graduated filter in post-processing to balance the exposure of the sky and foreground.
3. Stabilize the Sequence
If you notice any shakiness in your time-lapse, use software to stabilize the footage. This is especially helpful if you shot handheld or in windy conditions.
- Tip: Use stabilization tools in Premiere Pro or Final Cut Pro to smooth out minor shakes without losing too much of the image.
Conclusion
Time-lapse photography is a fascinating genre that allows you to compress time and create stunning visual sequences. By understanding your camera settings, equipment, and composition techniques, you can create time-lapses that beautifully showcase the passage of time. With practice and patience, you can capture everything from the movement of the sky to the slow unfolding of nature, all in a way that tells a compelling story.