Astrophotography is the art of capturing the night sky, including celestial bodies like stars, planets, and galaxies. This genre of photography offers a unique challenge, as it involves shooting in low light conditions, long exposure times, and often requires specialized equipment. However, with the right techniques and patience, astrophotography can produce breathtaking and awe-inspiring images of the universe.
In this article, we’ll explore the essential tips and techniques for capturing stunning astrophotography, including camera settings, equipment recommendations, and post-processing tips.
What is Astrophotography?
Astrophotography involves photographing the night sky and celestial bodies, including stars, planets, and deep-sky objects like galaxies and nebulae. It requires specific techniques, settings, and equipment to capture the faint light emitted by these distant objects.
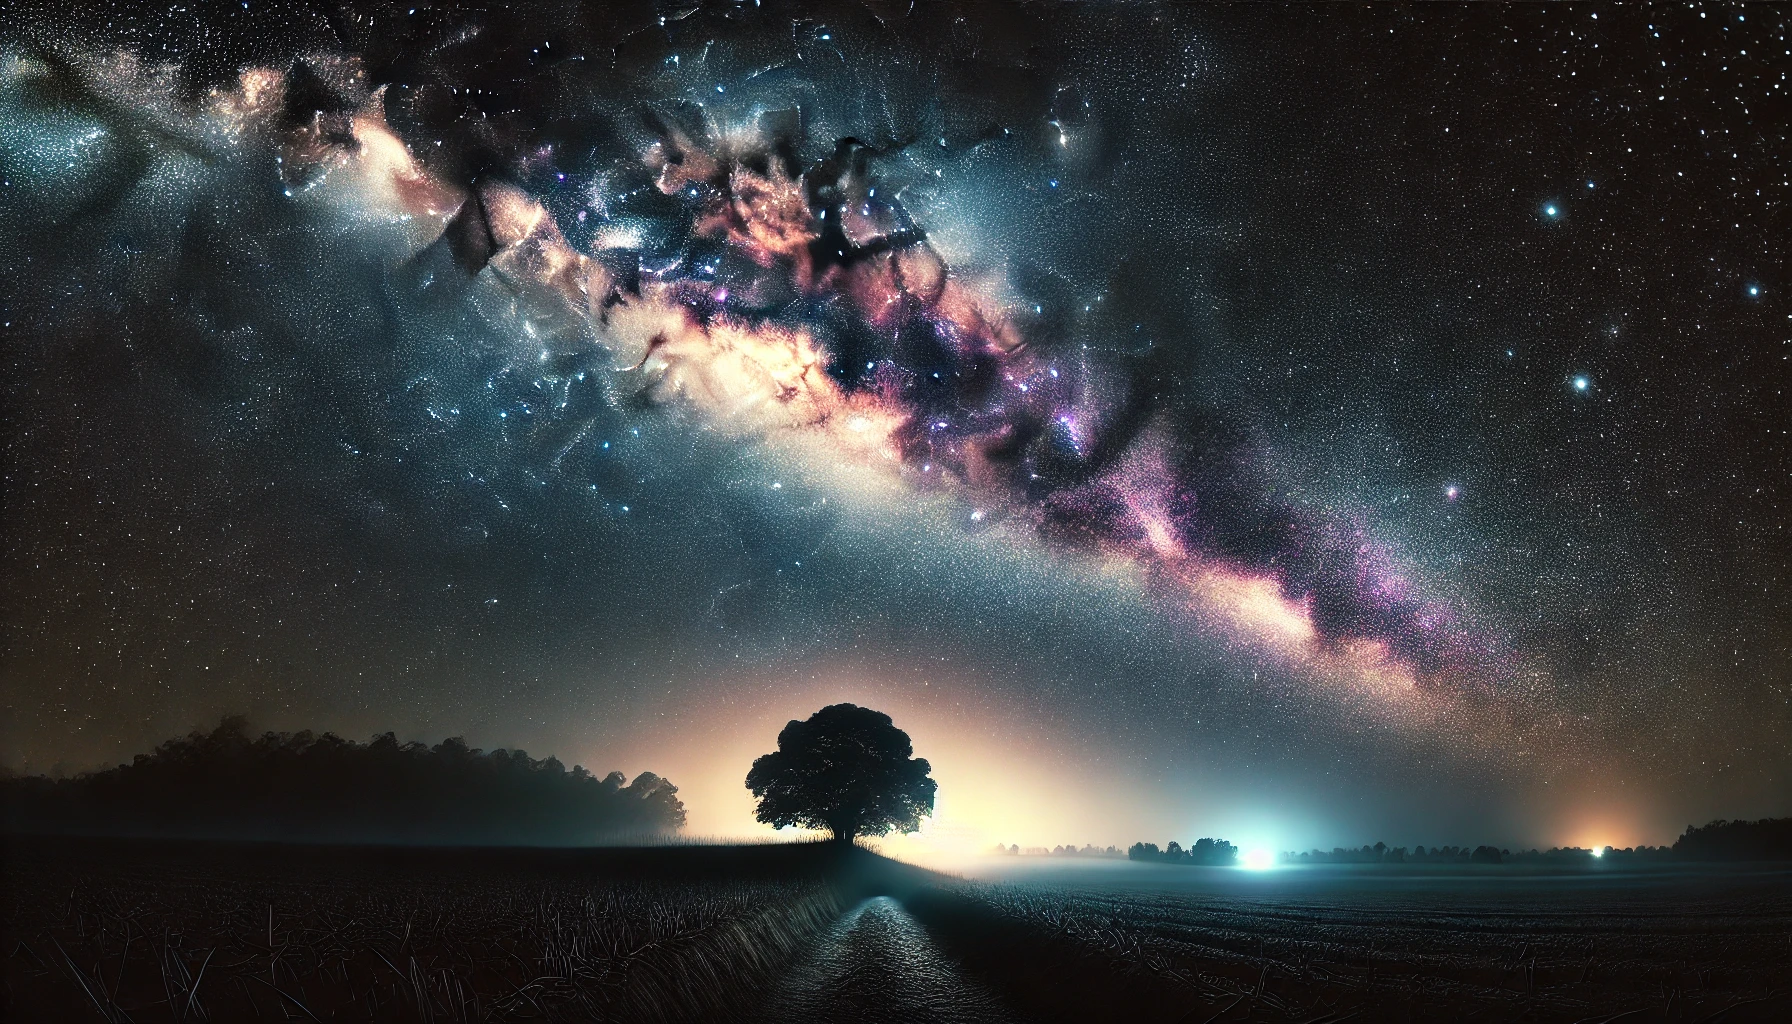
Astrophotography is not just about photographing the stars; it’s about capturing the vastness and beauty of the cosmos. It’s a fascinating field that allows you to explore the universe from your own backyard, whether you’re shooting the Milky Way, star trails, or even distant galaxies.
Essential Equipment for Astrophotography
Astrophotography requires specialized gear to ensure you capture the best possible images of the night sky. Here’s what you’ll need:
1. Camera with Manual Controls
A camera with full manual controls is essential for astrophotography, as you’ll need to adjust settings such as exposure, aperture, and ISO. DSLR or mirrorless cameras are ideal because they offer the flexibility and image quality required for capturing the faint light of distant stars and galaxies.
- Tip: Cameras with a full-frame sensor are preferred for astrophotography, as they capture more light and provide better image quality in low-light conditions.
2. Wide-Angle Lens (f/2.8 or Faster)
A wide-angle lens with a fast aperture (e.g., f/2.8 or faster) is crucial for capturing the night sky. A wide lens allows you to capture more of the sky in a single frame, and a wide aperture lets in more light, which is necessary for photographing faint stars and nebulae.
- Tip: A 14mm to 24mm lens with a wide aperture is ideal for shooting the Milky Way or capturing large sections of the night sky.
3. Sturdy Tripod
A sturdy tripod is essential for astrophotography, as you’ll be shooting with long exposure times. Any movement during the exposure can cause motion blur and ruin your shot.
- Tip: A tripod with adjustable legs is helpful for positioning your camera at different angles and shooting from a variety of perspectives.
4. Remote Shutter Release or Self-Timer
To avoid camera shake when pressing the shutter button, use a remote shutter release or set your camera’s self-timer. This ensures that the camera remains still during the exposure, which is crucial for sharp images.
- Tip: A remote shutter release is especially useful when shooting with long exposures, as it minimizes any risk of shake.
5. Star Tracker (Optional)
For advanced astrophotography, a star tracker is a device that moves your camera in sync with the Earth’s rotation. This allows you to take longer exposures without star trails, capturing sharper images of distant stars and deep-sky objects.
- Tip: Star trackers are ideal if you want to capture detailed images of faint objects like nebulae or galaxies, but they require additional setup and calibration.
Camera Settings for Astrophotography
Astrophotography requires careful adjustments to your camera settings to capture the night sky accurately. Here are the key settings to consider:
1. Shutter Speed: The 500 Rule
The 500 Rule is a general guideline for determining the maximum shutter speed for capturing stars without noticeable motion blur. The rule is simple: divide 500 by the focal length of your lens to find the maximum exposure time in seconds.
- Tip: For example, with a 24mm lens, 500 ÷ 24 = 20.8 seconds. This is the maximum exposure time you can use to avoid star trails. For longer exposures, you will need a star tracker or shorter focal lengths.
2. Aperture: Use a Wide Aperture (f/2.8 or Faster)
A wide aperture (e.g., f/2.8) allows more light to reach the sensor, which is essential for capturing the faint stars in the night sky. A wider aperture also helps to keep the stars sharp and bright in your image.
- Tip: Avoid using apertures smaller than f/4, as this can result in star diffraction and reduce image sharpness.
3. ISO: Use a High ISO for Sensitivity
Astrophotography often requires a higher ISO to capture the faint light of the stars. Start with an ISO of 1600 and adjust it based on the lighting conditions. Higher ISO values (e.g., 3200 or 6400) may be necessary for darker skies, but be mindful of noise.
- Tip: Keep the ISO as low as possible while still capturing enough light. Use noise reduction in post-processing to clean up any grainy images.
4. Manual Focus for Sharpness
Autofocus can struggle in low-light conditions, so it’s best to use manual focus for astrophotography. Focus your lens on a distant light or star to ensure the sharpest focus possible.
- Tip: Use live view mode to zoom in on a star and adjust the focus until it appears as a sharp point of light.
5. White Balance: Set to Tungsten or Custom
For astrophotography, it’s important to use the correct white balance to avoid color casts in your images. Set the white balance to “Tungsten” (around 3200K) or use a custom white balance for accurate colors.
- Tip: Shoot in RAW format so you can fine-tune the white balance during post-processing.
Composition Tips for Astrophotography
Composition is just as important in astrophotography as in any other genre of photography. Here are some tips for composing stunning astrophotography images:
1. Incorporate Foreground Elements
Adding a foreground element, such as a mountain, tree, or building, can create a sense of scale and context in your astrophotography shots. This helps ground the image and makes the night sky feel more immersive.
- Tip: Use a wide-angle lens to capture both the stars and the foreground in a single shot, ensuring that both are in focus.
2. Use the Rule of Thirds
The rule of thirds is a simple compositional guideline that can help you create balanced and dynamic astrophotography images. Position key elements, like the horizon, the Milky Way, or a prominent foreground feature, along the lines or at the intersections of the frame.
- Tip: Place the Milky Way along the bottom third of the frame to allow the stars to shine in the sky above.
3. Consider Light Pollution
Light pollution can significantly affect the quality of your astrophotography, especially when shooting in urban or suburban areas. Look for dark sky locations, such as national parks or rural areas, to minimize the impact of artificial light.
- Tip: Use a light pollution map to find the best locations for clear, unobstructed views of the night sky.
Post-Processing Tips for Astrophotography
Post-processing is essential in astrophotography to enhance the details, reduce noise, and improve the overall image quality. Here are some tips for editing your astrophotography images:
1. Stack Images for Noise Reduction
If you’ve taken multiple exposures, you can stack them together in software like DeepSkyStacker or Photoshop to reduce noise and increase the signal-to-noise ratio. This technique is especially useful for long-exposure shots.
- Tip: Stacking images also helps to capture more detail in the faintest stars or galaxies.
2. Enhance the Colors
Astrophotography often benefits from subtle color adjustments, particularly to highlight the vibrant hues of nebulae, stars, or the Milky Way. Use the HSL panel in Lightroom or Photoshop to adjust the saturation and luminance of specific colors.
- Tip: Enhance the blues and purples of the night sky or the reds and oranges of nebulae to bring out their full beauty.
3. Remove Noise
Astrophotography often results in grainy images due to high ISO settings. Use noise reduction tools in Lightroom or Photoshop to smooth out the image while preserving the fine details of the stars.
- Tip: Apply noise reduction selectively to the dark areas of the image to avoid softening the stars themselves.
Conclusion
Astrophotography is a captivating and challenging genre that allows you to capture the wonders of the night sky. By mastering the right equipment, camera settings, and composition techniques, you can create stunning images that showcase the beauty of stars, galaxies, and other celestial objects. With practice and patience, you’ll be able to capture awe-inspiring photos of the universe that will leave viewers mesmerized by the vastness of space.