Architectural photography is all about capturing the design, form, and beauty of buildings and structures. Whether you’re shooting modern skyscrapers, historical landmarks, or interiors of homes and buildings, architectural photography requires both technical skill and artistic vision. The goal is to showcase the design in a way that emphasizes its character and aesthetic appeal.
In this article, we’ll explore the essential tips and techniques for capturing stunning architectural photography, including the best camera settings, composition ideas, and post-processing techniques.
Understanding Architectural Photography
Architectural photography is a specialized genre that focuses on capturing the beauty of buildings, their design, and the spaces within them. It can encompass a wide range of subjects, from towering skyscrapers and bridges to residential homes and historical monuments. Architectural photographers aim to highlight the form, lines, and unique features of a structure, often working to capture a subject in the best possible light and from the most dynamic angle.
There are two main types of architectural photography: exterior and interior. Exterior photography focuses on the building’s façade and how it fits into its environment, while interior photography captures the layout, lighting, and design details inside the building.
Essential Equipment for Architectural Photography
To capture the perfect architectural shot, you’ll need specialized equipment that allows you to work with perspective, light, and detail. Here’s what you’ll need:
1. Camera with Manual Settings
A camera with full manual controls is crucial for architectural photography, as you’ll often need to adjust the exposure, aperture, and shutter speed to suit the lighting conditions. DSLRs and mirrorless cameras are ideal for architectural photography because they offer full creative control over the settings.
- Tip: Use a camera that allows you to shoot in RAW format for maximum flexibility during post-processing.
2. Wide-Angle Lens
Wide-angle lenses (e.g., 16mm-35mm) are essential for architectural photography, as they allow you to capture large buildings, rooms, and spaces in their entirety. A wide-angle lens also helps you convey the scale and grandeur of a structure.
- Tip: Be mindful of distortion when using wide-angle lenses, as they can cause lines to bend, especially when shooting tall buildings.
3. Tilt-Shift Lens (Optional)
A tilt-shift lens is a specialized lens that allows you to control the plane of focus and correct perspective distortion. When photographing tall buildings, tilt-shift lenses can help straighten vertical lines and avoid the “falling over” effect that occurs with wide-angle lenses.
- Tip: While tilt-shift lenses can be expensive, they are incredibly useful for professional architectural photography, especially in urban environments.
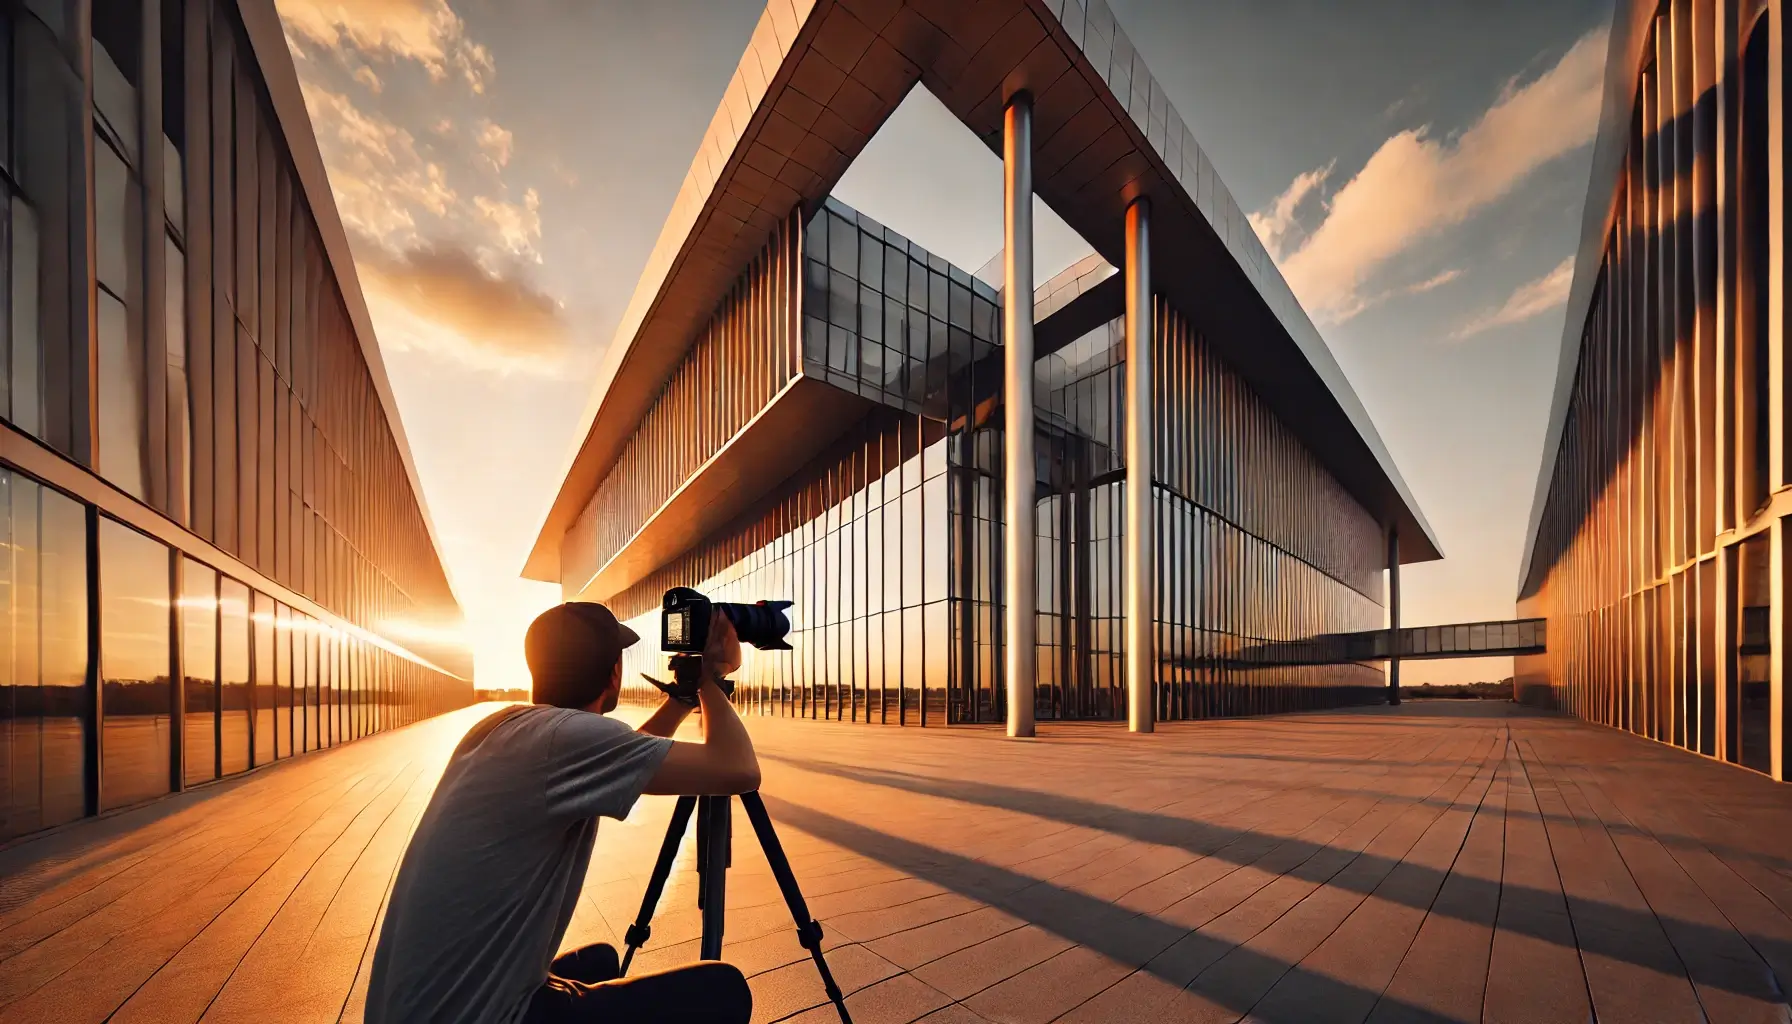
4. Tripod
A sturdy tripod is essential for architectural photography, especially if you’re shooting in low light or need to use slow shutter speeds. A tripod helps keep the camera steady and ensures sharp images, especially when shooting with wide apertures.
- Tip: Use a tripod with adjustable legs to help you shoot from different heights and angles for creative compositions.
5. External Flash or Lighting Kit (for Interiors)
For interior architectural shots, lighting can be crucial to illuminate the space properly. Using external flashes or continuous lighting can help highlight details and fill in shadows.
- Tip: Use softboxes or diffusers to soften the light and avoid harsh, direct lighting that can create unnatural shadows.
Camera Settings for Architectural Photography
Architectural photography often involves shooting in challenging lighting conditions, so it’s important to adjust your camera settings accordingly. Here’s how to optimize your settings:
1. Shutter Speed
Since architecture is usually stationary, you can use a slower shutter speed, especially if you’re shooting with a tripod. A shutter speed of 1/125 second or slower is often sufficient, but you can adjust it based on the lighting conditions.
- Tip: If you’re shooting handheld, increase the shutter speed to at least 1/500 second to avoid camera shake.
2. Aperture
Use a smaller aperture (higher f-stop, e.g., f/8 to f/16) to ensure a greater depth of field, keeping the entire building or room in sharp focus. A smaller aperture also helps capture fine details in the architecture.
- Tip: Be cautious of diffraction at very small apertures (e.g., f/22), which can reduce the sharpness of the image.
3. ISO
For architectural photography, you’ll typically want to use the lowest ISO possible (ISO 100-400) to avoid noise and maintain image quality, especially when capturing intricate details.
- Tip: Increase the ISO only if shooting in low-light conditions where a longer exposure is required.
4. Focus Mode
For exterior shots, use single-point autofocus to focus on the most important parts of the building, such as a door or corner. For interior shots, use manual focus to ensure precise control over the focus, especially in low-light conditions.
- Tip: Use live view and zoom in to the critical areas to ensure sharp focus on key architectural details.
Composition Tips for Architectural Photography
Composition is critical in architectural photography. Here are some tips for creating visually compelling images:
1. Use Symmetry and Leading Lines
Architectural photography is known for its symmetry and clean lines. Use the structure’s natural lines to guide the viewer’s eye through the composition. Leading lines can create a sense of depth and direct attention toward key focal points.
- Tip: Experiment with angles to enhance the symmetry and create dynamic compositions, such as shooting from an elevated angle or getting low to the ground.
2. Consider the Background
Pay attention to the background of your architectural shots, especially when photographing exteriors. The surrounding environment can either enhance or detract from the building. Look for interesting contrasts between the building and its environment, such as juxtaposing modern architecture against nature or historical elements.
- Tip: Avoid distractions in the background, like trees or cars, which can draw attention away from the building.
3. Capture Different Perspectives
Try shooting the building from various angles and heights to find the most interesting perspective. A slightly tilted angle can add drama and give a sense of movement, while a straight-on shot can emphasize the symmetry of the structure.
- Tip: Shoot both wide-angle and close-up shots to capture the full grandeur and fine details of the building.
4. Use Natural and Artificial Light
Lighting plays a huge role in architectural photography. Use natural light to highlight the textures and form of the building, but don’t be afraid to use artificial light for interior shots or if you want to add dramatic lighting effects.
- Tip: Early morning and late afternoon light offer soft, warm tones that enhance the beauty of exterior shots, especially for modern buildings with reflective surfaces.
5. Show the Scale
To convey the size and scale of a building, include people, vehicles, or objects in the frame to provide context. This helps the viewer understand the building’s proportion and grandeur.
- Tip: Use a wide-angle lens to capture the full size of a structure, and include foreground elements to give a sense of depth.
Post-Processing Tips for Architectural Photography
Post-processing is an important step in architectural photography. Here are some tips to enhance your images:
1. Correct Perspective Distortion
When shooting tall buildings with wide-angle lenses, you may notice perspective distortion (the “keystone effect”), where vertical lines converge. Use editing software like Lightroom or Photoshop to straighten vertical lines and correct distortion.
- Tip: Use the lens correction tool to fix distortion, or manually adjust the vertical perspective using the Transform tool.
2. Enhance the Details
Increase the clarity and sharpness to bring out the fine architectural details, such as the texture of walls, windows, and doors. Use the clarity slider to add definition to surfaces without overdoing it.
3. Adjust the Exposure and Contrast
Architectural photos often look better with increased contrast, as it adds depth and dimension to the building. Adjust the exposure to balance the highlights and shadows, ensuring that both the bright and dark areas are well-exposed.
- Tip: Use graduated filters in Lightroom to enhance the exposure of the sky or the building’s facade.
Conclusion
Architectural photography is an exciting and rewarding genre that allows you to capture the design, beauty, and essence of buildings and structures. By mastering the right equipment, camera settings, and composition techniques, you can create stunning architectural photos that highlight the form, function, and aesthetics of the built environment. Whether you’re photographing modern skyscrapers, historical landmarks, or interiors, architectural photography offers endless opportunities for creativity and expression.