Aerial photography offers a unique perspective, allowing you to capture vast landscapes, cityscapes, and natural wonders from a bird’s-eye view. Whether you’re flying a drone or shooting from a plane, aerial photography provides an exciting way to explore and document the world from above. With the right techniques and equipment, you can create striking, high-impact images that reveal the beauty and scale of a scene from a completely different angle.
In this article, we’ll explore the essential tips and techniques for capturing stunning aerial photography, from camera settings and composition to safety and post-processing.
What is Aerial Photography?
Aerial photography involves capturing images from a high vantage point, typically from a drone, plane, or helicopter. The goal of aerial photography is to offer a unique perspective that isn’t possible with traditional ground-level photography. This technique is commonly used in landscape photography, real estate, architecture, tourism, and environmental documentation.
With the rise of drone technology, aerial photography has become more accessible, allowing photographers to capture high-quality images from the sky. Aerial photos reveal patterns, textures, and compositions that are not visible from the ground, adding a dramatic effect to any scene.
Essential Equipment for Aerial Photography
To capture stunning aerial images, you’ll need specialized equipment that’s suited for high-altitude shooting. Here’s the essential gear you’ll need:
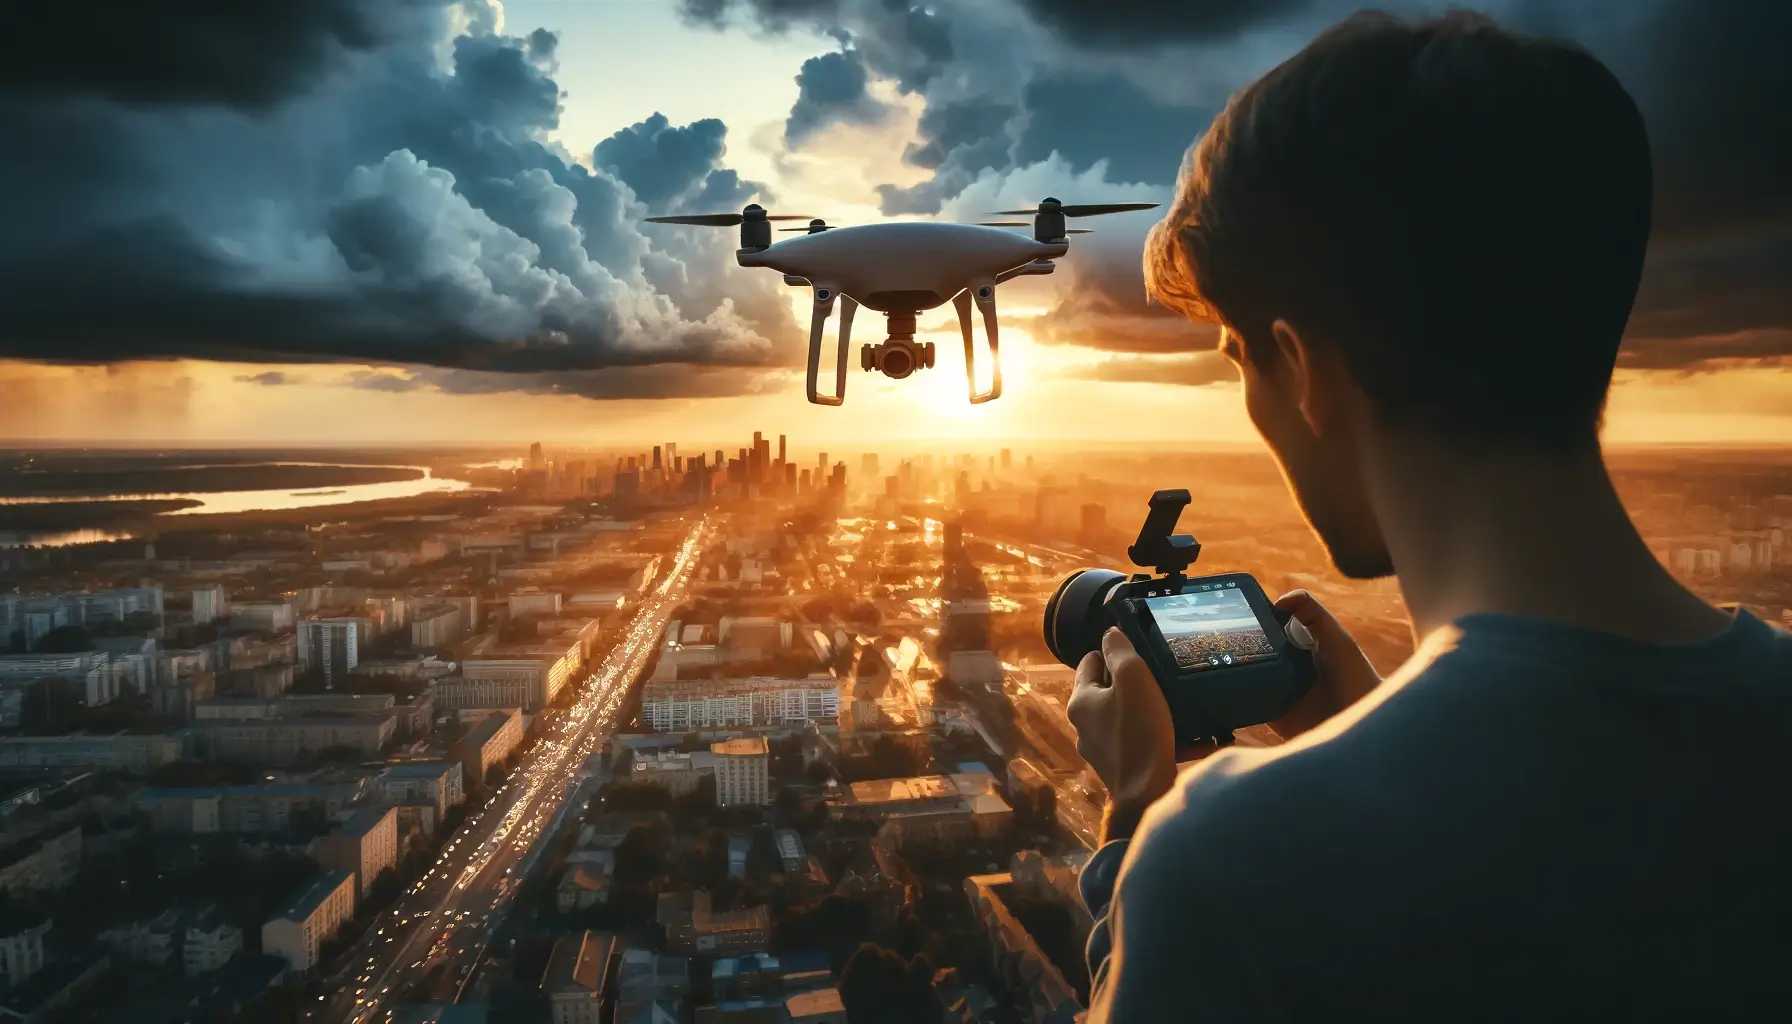
1. Drone with a High-Quality Camera
A drone is the most common tool for aerial photography. Most modern drones come equipped with cameras capable of capturing 4K video and high-resolution still images. When choosing a drone for photography, look for one with a high-quality camera and stabilized gimbal to ensure smooth, sharp images.
- Tip: Look for drones with at least 12-20 megapixels for stills, and make sure they offer 4K or HD video resolution for the best image quality.
2. Camera with Manual Settings (for Airplane/Helicopter Photography)
If you’re capturing aerial shots from a plane or helicopter, you’ll need a camera with manual settings to adjust the exposure, shutter speed, and aperture. DSLR and mirrorless cameras are ideal for aerial photography from a plane or helicopter, as they offer full control over the settings and produce high-quality images.
- Tip: Use a wide-angle lens for capturing expansive landscapes or cityscapes from the air.
3. Gimbal Stabilizer for Smooth Footage
For drone footage, a gimbal stabilizer is essential for keeping the camera steady and reducing the impact of vibrations. Many drones come with built-in gimbals, but if you’re using a handheld camera or shooting from a plane, you may need an external stabilizer to ensure smooth, stable shots.
4. ND Filters for Drones
Just like with ground-level photography, using neutral density (ND) filters for your drone helps to control exposure, especially in bright light conditions. ND filters reduce the amount of light entering the camera, allowing you to use slower shutter speeds for smooth footage and more balanced exposures.
- Tip: ND filters are particularly useful for shooting in bright sunlight and capturing smoother video at higher frame rates.
5. Drone Remote and Smartphone or Tablet
A drone’s remote controller is used to navigate and control the camera while in the air. Many drone remotes are equipped with a smartphone or tablet holder, which allows you to view the live feed from the drone’s camera and adjust settings in real-time.
Camera Settings for Aerial Photography
Aerial photography requires specific camera settings to ensure that your shots are crisp, properly exposed, and sharp. Here are the key settings you need to adjust:
1. Shutter Speed
A fast shutter speed is essential to ensure that your aerial images are sharp and free from motion blur, especially if you’re photographing landscapes or moving subjects like cars, boats, or animals. A shutter speed of at least 1/500 second is recommended for capturing sharp images, but for very fast-moving subjects, you may need to increase the shutter speed.
- Tip: In low light conditions, you may need to slow the shutter speed, but be cautious of introducing motion blur, especially with the drone’s movement.
2. Aperture
To achieve a wide depth of field and ensure that both the foreground and background are in focus, use a smaller aperture (e.g., f/8 to f/16). This is particularly important in aerial landscape photography, where you want everything from the ground to the sky to be sharp and detailed.
- Tip: When shooting from a drone, avoid apertures that are too small (e.g., f/22), as this can cause diffraction and reduce sharpness.
3. ISO
Keep the ISO as low as possible to avoid noise, especially if you’re shooting in bright daylight. An ISO of 100-400 is ideal for most aerial shots. However, if you’re shooting in low-light conditions (such as during dusk or dawn), you may need to increase the ISO, but try to keep it below 1600 to maintain image quality.
4. White Balance
Setting the correct white balance is important for achieving accurate colors in your aerial photos. If you’re shooting in daylight, set the white balance to “Daylight” or “Cloudy” for natural colors. For sunset or sunrise shots, adjust the white balance to enhance warm tones.
- Tip: For more creative control over color grading, shoot in RAW format, so you can adjust the white balance and colors in post-processing.
5. Focus Mode
If you’re shooting with a camera mounted on a drone or from an airplane, use manual focus to ensure that your subject is sharp. Drone cameras typically have autofocus, but it’s important to manually adjust focus if needed, especially when shooting at great heights or focusing on distant objects.
- Tip: When photographing landscapes, focus on the horizon to maintain sharpness throughout the scene.
Composition Tips for Aerial Photography
Composition is key to creating stunning aerial shots that capture the beauty of the scene from above. Here are some tips to help you compose your aerial photos:
1. Use the Rule of Thirds
The rule of thirds is a great way to create a balanced and visually appealing composition. Divide the frame into three equal parts, both horizontally and vertically, and position the main subject along these lines or at the intersections.
- Tip: Place the horizon on the top or bottom third of the frame to create a balanced image, depending on whether you want to emphasize the land or the sky.
2. Look for Patterns and Shapes
Aerial photography often reveals interesting patterns and shapes that are not visible from the ground. Look for natural patterns, such as winding rivers, fields, roads, or even the shapes of buildings in a city.
- Tip: Symmetry can also be powerful in aerial shots. Look for symmetrical subjects, such as buildings, parks, or bodies of water, to create striking compositions.
3. Include Leading Lines
Leading lines, such as roads, rivers, or pathways, help guide the viewer’s eye through the composition. Use these lines to draw attention to your main subject or create depth in the image.
- Tip: Use natural lines in the landscape or architecture to create a sense of movement or flow in the photo.
4. Capture Dynamic Lighting
Lighting plays a huge role in aerial photography. The angle and intensity of the light can change depending on the time of day, so experiment with shooting during different times to capture dramatic lighting conditions.
- Tip: Shoot during the golden hour (early morning or late afternoon) to capture soft, warm light and long shadows that add depth to your aerial images.
Post-Processing Aerial Photography
Post-processing is crucial for enhancing your aerial photos and bringing out the best in the scene. Here are some tips for editing your aerial images:
1. Enhance Colors and Contrast
Increase the contrast and saturation to make the colors in your aerial photos pop. This is especially useful for landscapes with vibrant colors, such as the ocean, forests, or urban areas.
2. Sharpen the Image
Aerial shots, especially from drones, may require sharpening to bring out the fine details. Use sharpening tools in Lightroom or Photoshop to enhance the clarity of textures in the landscape or cityscape.
3. Correct Exposure and White Balance
If your aerial photos are overexposed or underexposed, use the exposure sliders to correct the brightness. You can also adjust the white balance in post-processing to ensure that the colors are natural and accurate.
Conclusion
Aerial photography offers a unique and exciting way to capture stunning images from above. By using the right equipment, mastering your camera settings, and applying creative composition techniques, you can create breathtaking aerial shots that showcase the beauty of landscapes, architecture, and cityscapes from a bird’s-eye view. With practice, you’ll be able to create images that offer a fresh perspective on the world below.