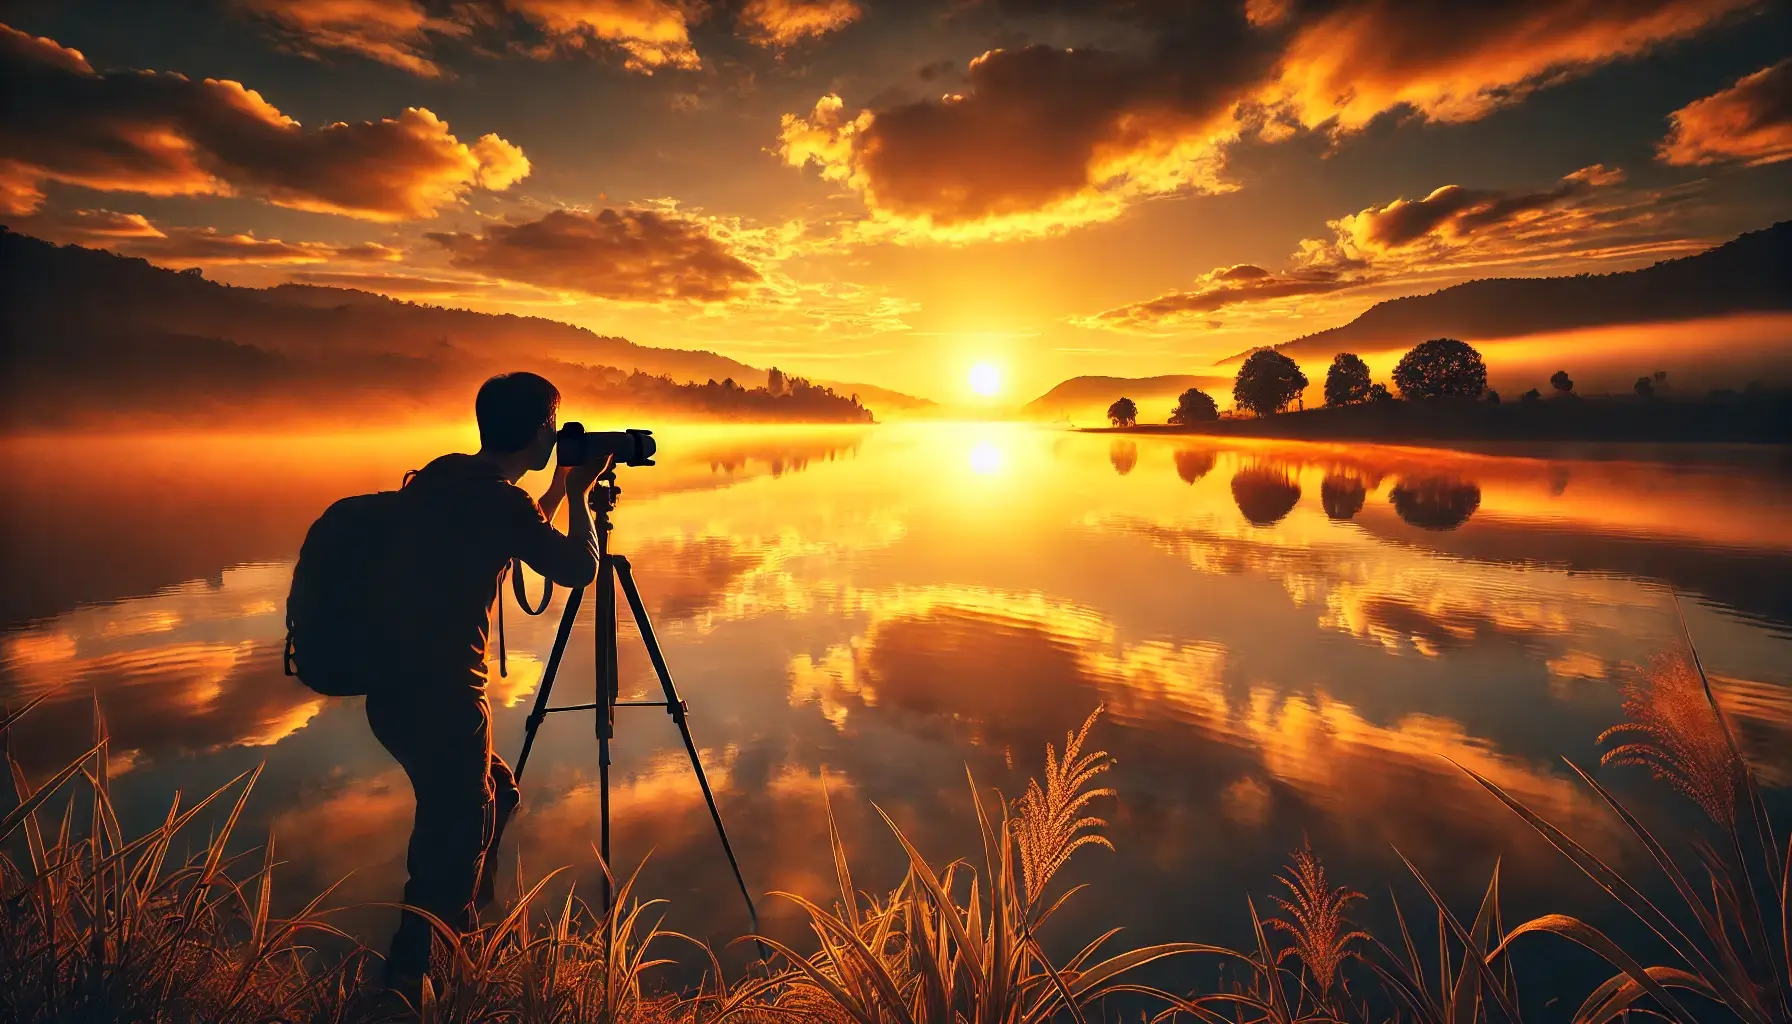
Sunrise and sunset photography are two of the most popular and rewarding genres for landscape photographers. The soft, warm light during these times can create dramatic, breathtaking images that highlight the beauty of natural scenes. Capturing the perfect sunrise or sunset requires careful planning, an understanding of light, and the right techniques to make the most of the fleeting moments during these golden hours.
In this article, we’ll explore the essential tips and techniques for capturing beautiful sunrise and sunset photos, including the best camera settings, composition ideas, and post-processing tips.
The Magic of Golden Hour
Golden hour refers to the period just after sunrise and just before sunset when the light is softer, warmer, and more diffused. During this time, the light creates long shadows, rich colors, and a calm atmosphere that adds a magical quality to your photos. The warm tones of the sun’s rays are perfect for capturing dramatic landscapes, cityscapes, and portraits.
- Tip: The golden hour typically lasts for about an hour after sunrise and an hour before sunset, but the exact time depends on the time of year and your location.
Why Sunrise and Sunset Photography is So Popular
Sunrises and sunsets provide photographers with the opportunity to capture a wide range of colors in the sky and on the ground. These natural events also allow you to experiment with different lighting, silhouettes, and reflections that make your photos stand out. The time of day offers a sense of peace, calm, and awe that you can translate into your photography.
Essential Equipment for Sunrise and Sunset Photography
While sunrise and sunset photography doesn’t require specialized gear, having the right equipment can help you achieve the best results. Here’s what you’ll need:
1. Camera with Manual Controls
A camera with manual settings is ideal for controlling exposure, shutter speed, aperture, and ISO to capture the perfect shot during sunrise or sunset. DSLRs and mirrorless cameras are great for this type of photography as they offer full creative control.
- Tip: Make sure your camera allows you to shoot in RAW format, as this provides more flexibility in post-processing.
2. Tripod
A tripod is essential for sunrise and sunset photography, especially when shooting at slower shutter speeds to capture the softer light. A sturdy tripod helps stabilize the camera and prevents any unwanted camera shake, ensuring sharp images.
- Tip: A tripod is also useful when shooting in low light, as it allows you to use longer exposures without introducing blur.
3. Wide-Angle Lens
A wide-angle lens (e.g., 16mm-35mm) is ideal for capturing expansive landscapes during sunrise and sunset. A wide field of view allows you to capture both the sky and the foreground in a single frame, creating a dynamic composition.
- Tip: A lens with a low f-stop (e.g., f/2.8) can also help when shooting in low-light conditions.
4. ND Filters (Neutral Density Filters)
ND filters are helpful when shooting long exposures during the bright light of a sunset or sunrise. These filters reduce the amount of light entering the lens, allowing you to use slower shutter speeds and achieve motion blur effects, such as smoothing out water or clouds.
- Tip: ND filters are especially useful if you want to create a long exposure effect without overexposing the image during daylight.
Camera Settings for Sunrise and Sunset Photography
To capture the best sunrise and sunset shots, you need to adjust your camera settings for the lighting conditions. Here’s how to set up your camera:
1. Shutter Speed
For sunrise and sunset photography, a moderate shutter speed of 1/60 to 1/125 second is often ideal. If you’re using a tripod and want to capture smooth light trails or moving clouds, you may want to use a slower shutter speed (e.g., 1/30 second or slower).
- Tip: For still landscapes, use a faster shutter speed to freeze motion and maintain sharp details.
2. Aperture
A smaller aperture (higher f-stop, e.g., f/8 to f/16) is ideal for landscape shots, as it ensures a wide depth of field. This helps keep both the foreground and background in focus, allowing you to capture the full beauty of the scene.
- Tip: Use a smaller aperture for wide landscapes, but avoid apertures smaller than f/22 to prevent diffraction, which can reduce image sharpness.
3. ISO
Keep your ISO as low as possible (ISO 100 or 200) to reduce noise and retain sharpness in your photos. If you’re shooting in low-light conditions (such as during sunrise), you may need to increase the ISO, but try to keep it under 800 to maintain image quality.
- Tip: If you’re shooting handheld, you may need to increase the ISO to achieve a fast enough shutter speed.
4. White Balance
Set your white balance to “Daylight” for accurate color representation in the scene. During sunrise and sunset, the natural light tends to be warm, so you may want to slightly adjust the white balance to enhance the colors in the sky and foreground.
- Tip: Use the “Cloudy” setting for a warmer tone or set it manually for more control over the color temperature.
5. Manual Focus
When shooting landscapes or wide scenes, use manual focus to ensure that your entire scene is in focus. Autofocus can struggle in low light, especially during sunrise and sunset, so it’s best to focus manually for precision.
- Tip: Focus on an area in the foreground to ensure that both the foreground and background are sharp.
Composition Tips for Sunrise and Sunset Photography
Composition is key to capturing stunning sunrise and sunset shots. Here are some tips to help you compose your images:
1. Include the Foreground
A strong foreground adds depth to your sunrise or sunset photos and gives context to the scene. Look for interesting elements, such as rocks, trees, or other natural features, to include in the foreground.
- Tip: Use leading lines, such as a path, river, or road, to guide the viewer’s eye toward the horizon or sun.
2. Use the Rule of Thirds
The rule of thirds is an effective way to compose your sunrise or sunset shots. Divide your frame into three equal sections, both horizontally and vertically, and place the horizon along one of the horizontal lines. You can also place the sun or focal point at one of the intersections.
- Tip: Place the horizon either in the top third or bottom third of the frame, depending on whether you want to emphasize the sky or the foreground.
3. Capture the Sky and Clouds
The sky during sunrise and sunset can be just as dramatic as the landscape itself. Look for interesting cloud formations, and consider leaving more space for the sky in your composition.
- Tip: Shoot wide to capture the vastness of the sky, and consider experimenting with vertical compositions to emphasize the changing light.
4. Shoot Silhouettes
Sunrise and sunset are ideal times for silhouette photography. Position your subject, such as a person, tree, or building, against the bright light source and expose for the background, allowing the subject to become a dark, shadowy shape.
- Tip: Look for strong, recognizable shapes to create dramatic and striking silhouettes.
Post-Processing Tips for Sunrise and Sunset Photography
Post-processing can help bring out the best in your sunrise and sunset images. Here are some editing tips:
1. Enhance the Colors
Boost the vibrancy and saturation to enhance the warm tones of the sky and foreground. Sunrise and sunset images often look more striking when the colors are intensified.
- Tip: Use the graduated filter tool to adjust the exposure of the sky and foreground separately.
2. Adjust the Contrast and Exposure
If your image is too bright or too dark, use the exposure slider to adjust the brightness. Increasing the contrast can help make the colors pop and give the image more depth.
- Tip: Use the shadow and highlight sliders to fine-tune the exposure in specific areas of the image.
3. Sharpen the Image
Sharpen your image to bring out the fine details in the landscape, especially in the foreground or any textures in the scene.
- Tip: Use the clarity tool to enhance midtones and increase contrast, making the image appear more detailed.
Conclusion
Sunrise and sunset photography offer some of the most beautiful and dramatic moments to capture with your camera. By mastering the right camera settings, composition techniques, and post-processing skills, you can create stunning images that showcase the beauty of these magical times of day. Whether you’re shooting expansive landscapes, cityscapes, or portraits, sunrise and sunset photos offer endless possibilities for creative expression.