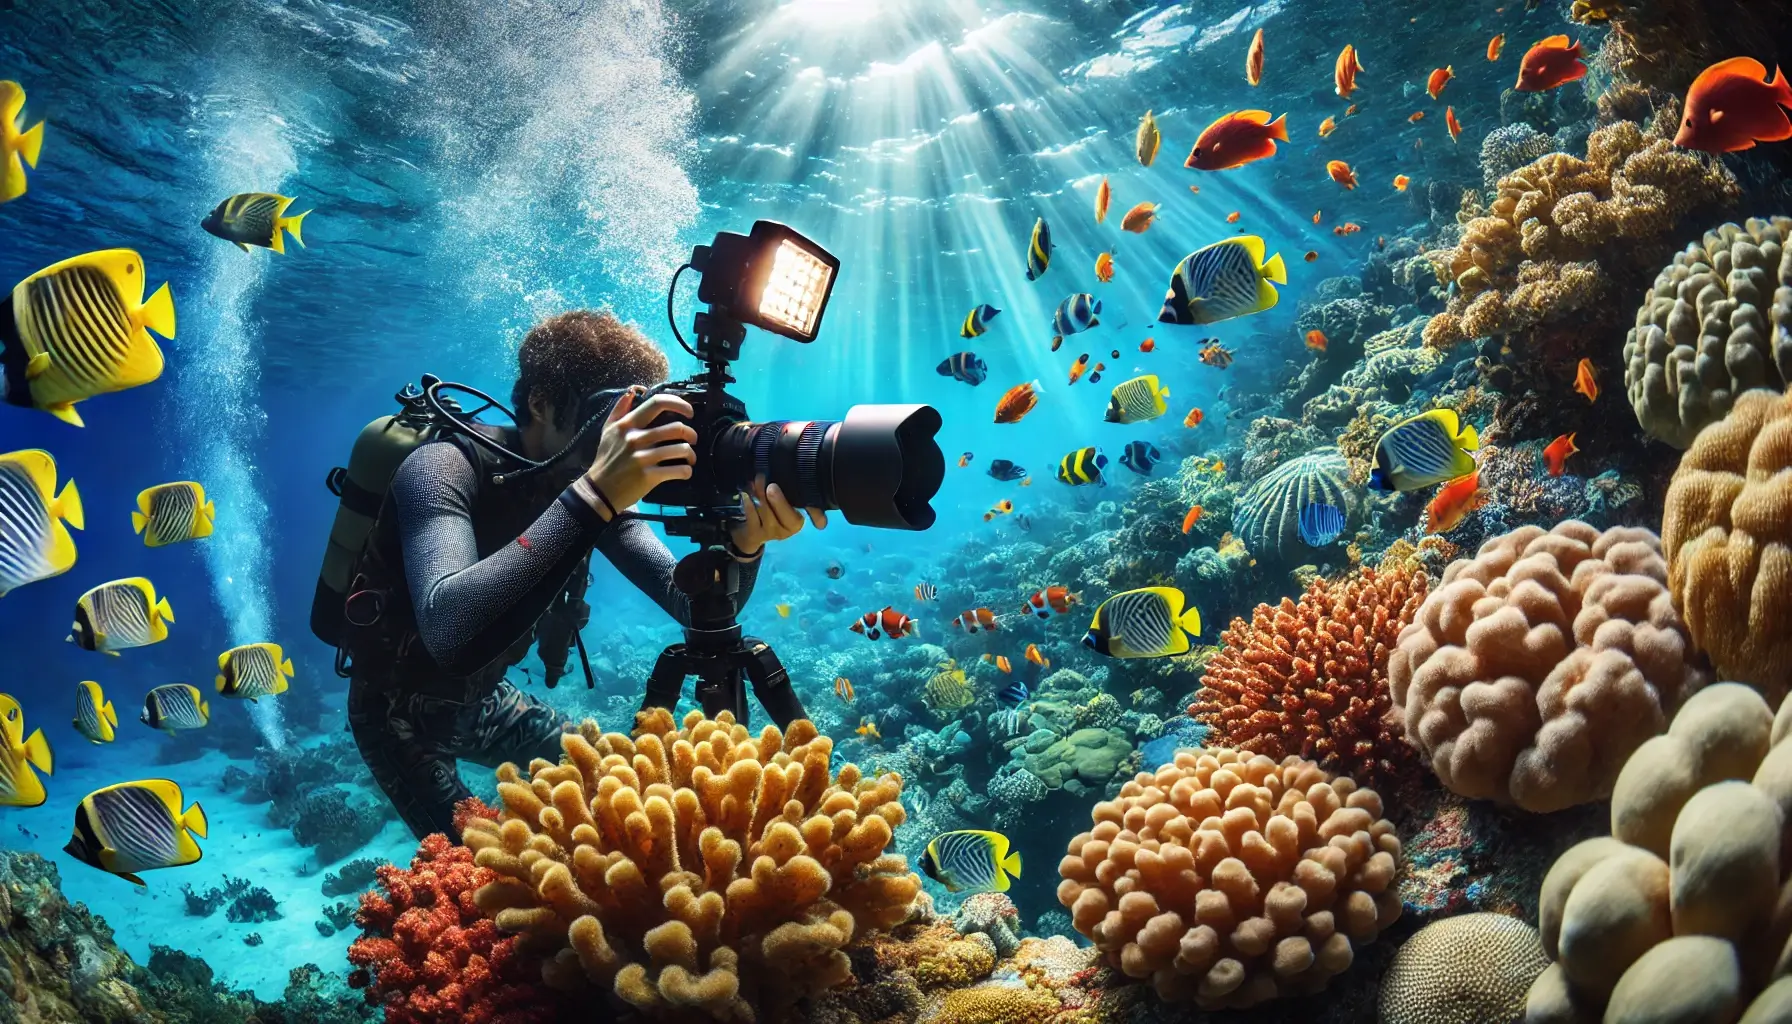
Underwater photography opens up a unique world of beauty and wonder beneath the surface of the water. From colorful coral reefs to schools of fish, and the quiet, mysterious depths of the ocean, underwater photography captures stunning scenes that are out of reach for most people. Whether you’re photographing marine life or just capturing the beauty of the water, it requires special techniques and equipment.
In this article, we’ll explore the essential tips and techniques for taking stunning underwater photos, from camera settings and composition to lighting and post-processing.
The Challenges of Underwater Photography
Underwater photography presents a range of unique challenges. It’s a dynamic environment with changing lighting conditions, limited mobility, and the need for specialized equipment. Here are some key challenges you may face:
- Limited Light: The further you go underwater, the less light there is. Colors start to fade, and the light can become very diffused. This requires you to adjust your camera settings to compensate.
- Movement: Both you and the subjects are often in motion, which can make it challenging to capture sharp, in-focus images. The movement of water, animals, and divers themselves needs to be considered.
- Pressure and Equipment: Underwater photography requires waterproof housing for your camera, and the pressure of the water can make using the camera tricky. Understanding the gear is crucial for successful underwater shots.
Essential Equipment for Underwater Photography
To capture stunning underwater images, you’ll need the right equipment designed specifically for underwater use. Here’s a breakdown of the gear you’ll need:
1. Waterproof Camera Housing
Most cameras are not inherently waterproof, so you’ll need a waterproof housing to protect your camera from the water. Many companies make housings designed for specific camera models. These housings provide access to the camera’s controls and protect it from water damage.
- Tip: Ensure that the housing is rated for the depth you’ll be diving to. Some housings are designed for shallow waters, while others are suitable for deep-sea photography.
2. Underwater Camera
While you can use any camera with waterproof housing, dedicated underwater cameras often come with enhanced features. These cameras are specifically designed to perform well in low-light conditions and underwater environments.
- Tip: Many underwater cameras also feature built-in flash systems and enhanced color accuracy, which can be a great asset when shooting in the water.
3. Wide-Angle Lens
A wide-angle lens is ideal for underwater photography, as it allows you to capture expansive scenes such as coral reefs or schools of fish. A wide lens also helps to capture the subject with a greater depth of field, making it easier to get everything in focus.
- Tip: Use a lens with a short focal length (e.g., 14mm or 16mm) for wide shots of underwater landscapes and marine life.
4. Underwater Flash or Strobe Lights
Since the underwater environment often lacks sufficient light, you’ll need an external flash or strobe light to illuminate your subject. These lights help restore the natural color of the underwater scene, which can be lost in deeper water.
- Tip: Use strobes with diffusers to soften the light and avoid harsh, direct lighting that can create unnatural shadows or highlights.
5. Tripod or Handheld Stabilization
While a tripod might not be practical in fast-moving underwater environments, stabilization is still key to preventing motion blur. If you’re photographing stationary objects like coral, you can use a tripod to stabilize your camera.
- Tip: For moving subjects, a handheld stabilization device or floatation device can help you keep your camera steady while swimming.
Camera Settings for Underwater Photography
Underwater photography requires specific camera settings to deal with the unique challenges of low light, motion, and water conditions. Here are the essential settings to adjust:
1. Shutter Speed: Freeze Motion
To capture sharp images, especially of fast-moving subjects like fish or divers, you’ll need a fast shutter speed. A shutter speed of at least 1/250 second or faster is recommended to freeze motion and capture sharp details.
- Tip: In murky or deeper waters, you may need a slower shutter speed, but keep it above 1/125 second to avoid motion blur.
2. Aperture: Control Depth of Field
For underwater photography, using a wide aperture (e.g., f/4 or f/5.6) helps let in more light and creates a shallow depth of field, isolating your subject from the background. This is especially important when photographing marine life.
- Tip: If you want more of the scene in focus (e.g., in wide shots of coral reefs), use a smaller aperture (e.g., f/8 or f/11).
3. ISO: Manage Low Light
ISO is important for compensating for the low light in underwater environments. Start with a low ISO (e.g., 200 or 400) to minimize noise. If you need more light, increase the ISO, but be cautious of introducing too much grain.
- Tip: In deep water or dim environments, you may need to increase the ISO to 800 or higher, but use noise reduction during post-processing to mitigate the effect.
4. White Balance: Correct Color
White balance is crucial for underwater photography since the color balance can shift with depth. The further you go, the more the red, orange, and yellow wavelengths of light are absorbed, causing underwater images to appear blue or greenish.
- Tip: Use custom white balance settings or a manual white balance setting to correct the color shift and restore the natural colors of your subject.
5. Focus: Use Continuous Autofocus
Underwater subjects are often moving quickly, so using continuous autofocus (AI Servo or AF-C mode) helps track the subject and maintain sharp focus as it moves through the water. For stationary subjects, you can switch to single-shot autofocus (One-Shot or AF-S).
Composition Tips for Underwater Photography
Like any type of photography, composition is key to creating captivating underwater images. Here are some tips for composing stunning underwater photos:
1. Fill the Frame with Your Subject
Underwater environments often feature a lot of negative space, but it’s important to fill the frame with your subject, whether it’s a fish, coral, or a diver. This helps create a stronger composition and draws attention to the focal point.
- Tip: If you can’t get close enough to your subject, use a longer lens (e.g., 70mm-200mm) to capture wildlife at a distance.
2. Use Leading Lines
Look for natural lines in the underwater environment, such as the lines of coral or the direction of a school of fish. Leading lines guide the viewer’s eye toward the subject and create a more dynamic composition.
3. Frame the Subject with the Environment
Incorporating the surrounding environment, like kelp forests or schools of fish, adds context to your subject. This can help tell a story and make your images more visually interesting.
- Tip: Try shooting from different angles to find a composition that includes both the subject and the surrounding environment.
4. Capture Movement and Action
Underwater photography offers unique opportunities to capture movement, such as fish swimming or divers exploring the depths. Use fast shutter speeds to freeze the motion or slower speeds for a more ethereal, blurred effect.
- Tip: When photographing schools of fish or other fast-moving animals, anticipate their movement and pre-focus to capture the perfect moment.
Post-Processing Underwater Photos
Post-processing is an important part of underwater photography, as it allows you to enhance the colors, contrast, and details that may be lost due to lighting conditions. Here are some editing tips:
1. Adjust White Balance and Color
Use the white balance and color correction tools in Lightroom or Photoshop to bring the natural colors back to your underwater images. You can also increase the vibrance and saturation to enhance the colors of the marine life and water.
2. Increase Sharpness and Clarity
Underwater images can sometimes appear soft due to water movement or lens distortion. Use sharpening tools to enhance the details in your subject, especially around the eyes of animals or the textures of coral.
3. Remove Noise
If you shot at a high ISO to compensate for low light, you may notice noise in your photos. Use noise reduction tools in editing software to smooth out grainy areas while maintaining sharpness.
Conclusion
Underwater photography is a fascinating and rewarding genre that opens up a world of incredible subjects to photograph. By understanding the challenges of shooting in low light, mastering the right camera settings, and using the proper equipment, you can capture breathtaking images that showcase the beauty of the underwater world. With patience and practice, you’ll develop your skills and create images that transport viewers to another world beneath the waves.