
Fotografia de paisagem parece algo tranquilo porque a cena tá diante dos olhos do fotógrafo. Acontece que nem sempre a foto acaba não apresentando o que o olho viu.
Não é raro o local ser bonito e a imagem ficar sem o que te inspirou a apertar o botão. Pode acabar do céu ficar pálido, o chão ficar vazio, a montanha perder tamanho e/ou o horizonte ficar torto.
A paisagem bonita vai te ajudar, mas em fotografias de paisagens também é necessário fazer escolhas.
O primeiro plano é o cartão de visitas da foto
Um erro comum é fotografar só o fundo, isto é, ver uma montanha bonita, apontar pra longe e clicar.
Quando você ver a foto, ela acaba ficando sem conduzir o olhar.
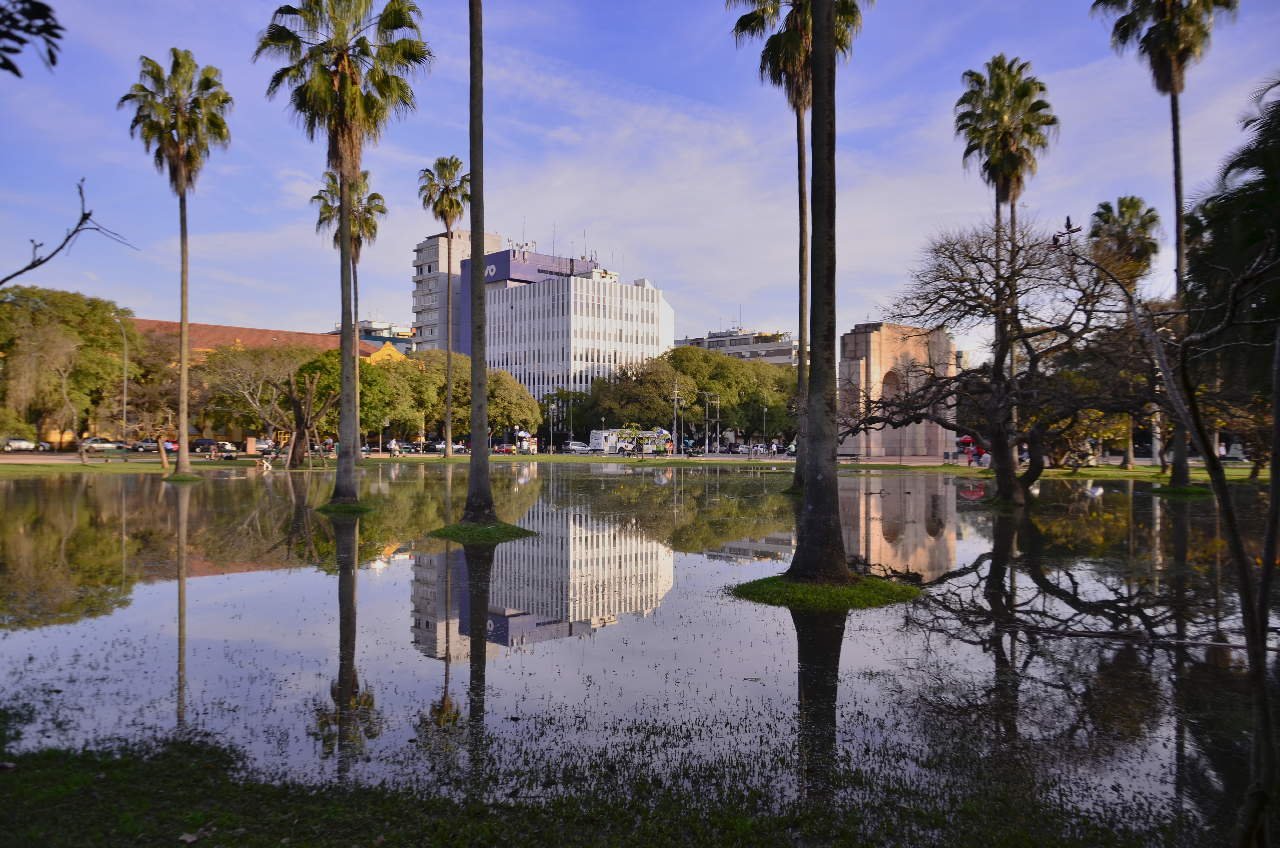
O primeiro plano ajuda a criar profundidade, tipo, pode ser uma pedra, uma flor, uma cerca, uma sombra, uma poça, uma textura no chão, um galho ou uma pessoa pequena no canto.
Alguma coisa pra te ajudar a dar um começo à imagem, permitir ao olhar iniciar a leitura da foto; o que é diferente de encher a foto de informação.
Horizonte torto chama atenção
Não tem jeito, em paisagem, o horizonte torto é facilmente percebido. Você precisa cuidar de deixar alinhado ao horizonte elementos como: mar, lago, campo aberto, estrada reta e prédio distante.
Quando a linha acabar caindo pra um lado sem intenção, a foto vai passar impressão de que foi mal feito.
No celular e na câmera, ligar a grade vai ajudar a evitar foto torta, descuidada.
A luz vai desenhar a paisagem
Em fotografia de paisagem, a luz não serve só pra clarear a cena. Ela vai mostrar relevo, separar planos, criar sombra, destacar texturas, etc.
Quando a luz vem baixa, ela vai atravessar a cena de lado e revelar formas que te passariam batido. Você vai notar que uma pedra vai ganhar volume, a estrada vai aparecer melhor e as montanhas vão deixar de ser só manchas ao longe.
A sombra também vai ajudar, porque ela vai criar camadas dentro da imagem.
O mesmo lugar vai parecer plano em um horário e ganhar profundidade em outro. É preciso observar se a luz tá ajudando ou não a paisagem a aparecer.
A paisagem precisa de caminho
Uma paisagem pode combinar beleza e, ao mesmo tempo, deixar o olhar de quem visualiza a foto sem rumo.
Elementos como estrada, trilha, rio, cerca, sombra, ponte, margem do lago ou curva no terreno te ajudam a criar percurso dentro da foto.
Estes elementos vão fazer o olho entrar na cena e perceber distância, profundidade e tamanho.
Uma trilha pequena vai permitir ter uma noção do tamanho de uma montanha.
Uma estrada vai levar o olhar até uma casa no fundo.
Um rio pode unir o primeiro plano ao horizonte.
Quando esse caminho não aparecer, a foto vai “perder movimento”.
Antes de clicar, procure por onde o olhar vai “caminhar” dentro da imagem.
Grande-angular mostra muito, mas precisa organizar os elementos
Grande-angular é uma lente muito lembrada quando se fala em paisagem.
Ela ajuda vai te ajudar a colocar mais cena dentro do quadro: céu, chão, montanha, estrada, fachada, rio, praia, etc.
Mas se você permitir entrar elementos demais, a foto vai bagunçar.
O céu vai virar um vazio enorme, o primeiro plano vai ficar sem função, as bordas vão distorcer ou o assunto principal vai ficar pequeno demais.
Tripé não é frescura em certas cenas
Certamente dá pra fotografar grande maioria das paisagens com a câmera na mão.
Mas o tripé vai te ajudar quando a luz cair, quando a velocidade precisar ser menor ou quando a composição pedir mais cuidado.
Alguns exemplos de registros que o tripé vai ser muio útil: foto de cachoeira, de rio, do mar, de nuvem em movimento, foto ao amanhecer, fim de tarde, noite ou longa exposição.
Filtro pode ajudar
Filtro de densidade neutra (ND), polarizador e filtro graduado podem ser úteis em paisagem.
O ND vai te ajudar quando você quiser usar velocidades mais baixas com luz forte, como em água em movimento ou nuvem passando.
Com o polarizador você vai poder reduzir o reflexo na água, no vidro ou na folha molhada, também vai te ajudar com o céu em algumas situações.
O filtro graduado vai te ajudar quando o céu tá muito mais claro que o chão. Ele escurece a parte de cima da cena sem alterar a parte de baixo. Vai ser útil em nascer do sol, pôr do sol, praia, campo aberto e cenas em que a divisão entre céu e chão é bem definida.
Edição precisa respeitar o lugar
Paisagem é um tentação pra exagerar quando você chega na edição. Se descuidar, o céu vai ficar azul demais, o verde “radioativo”, o contraste pesado, muita nitidez, pôr do sol muito alaranjado.
A imagem vai chamar mais atenção, mas não tem jeito, vai começar a parecer outra coisa.
Edição de paisagem pode melhorar muito: dá pra recuperar altas luzes, abrir sombra com cuidado, ajustar cor, cropar melhor e equilibrar céu e chão.
Mas você precisa lembrar que a paisagem já tinha uma luz, uma cor e um clima.
Se a edição não respeitar as condições originais, a foto vai virar cartão-postal de plástico. Bonito demais também pode parecer falso demais…
É preciso leitura do lugar para fazer fotografia de paisagem
Fotografar paisagem não é só provar aos outros que o lugar era bonito. É sobre organizar a sensação daquele lugar dentro de um quadro.
Considere responder alguns quesitos para melhorar a sua foto de paisagem: O que vai entrar primeiro na imagem? Pra onde o olho vai? O céu vai ajudar ou vai sobrar? O chão vai ter função? A luz vai desenhar ou apagar? Tem profundidade ou tudo vai ficar chapado?
Você precisará encontrar um jeito de mostrar o que você tinha intenção de registrar.