
Para o retrato na fotografia se imagina algo aparentemente tranquilo, até o momento que a a pessoa fotografada ficar sem saber o que fazer em frente à câmera.
É comum o rosto fechar, o ombro subir, indecisão de onde colocar a mão e aparecer um sorriso sem graça.
A câmera tá pronta, mas a modelo não tá no clima.
Pra fotografar retrato não é só colocar alguém na frente da lente. É preciso equilibrar luz, fundo, distância, direção e um pouco de conversa com a modelo.
A técnica é importante, como toda foto, mas um bom retrato também precisa deixar a pessoa à vontade.
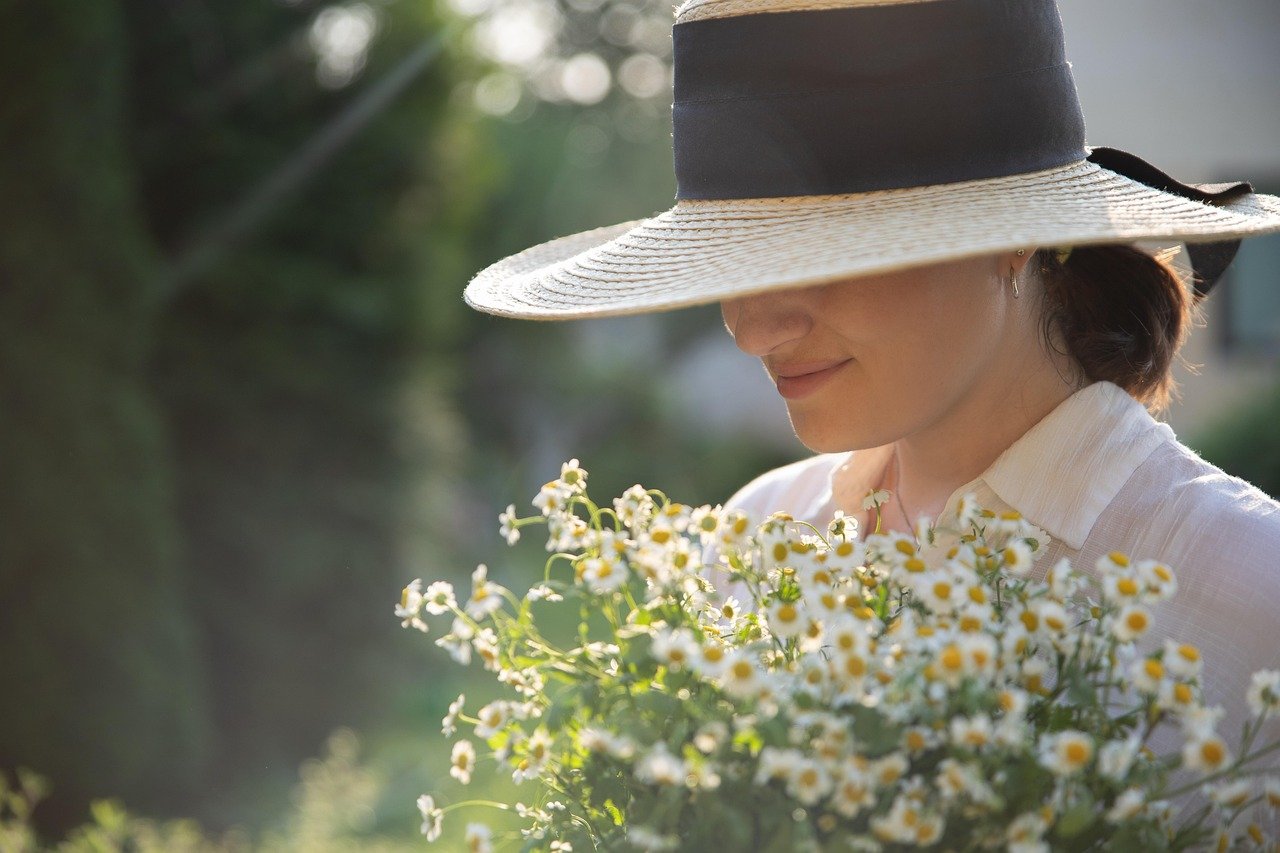
Luz bonita ajuda o rosto
Luz dura demais sobre a pessoa fotografada vai deixar a pele marcada e vai criar sombra pesada nos olhos.
Pra ajudar a luz chegar mais suave e o rosto ficar menos fechado, procure uma janela lateral, uma sombra sobre o cenário, fotografar em dia nublado, no começo da manhã e/ou ao fim da tarde.
Não precisa montar estúdio para fazer retrato bom, uma janela com luz boa já resolve metade da foto.
Fundo tranquilo deixa a pessoa aparecer
Em retratos, um fundo bagunçado pode fazer você desperdiçar a foto.
Exemplos de elementos que podem fazer você perder a foto: uma placa colorida atrás da cabeça, uma cadeira no canto do ambiente, uma parede cheia de informação, uma árvore saindo do ombro.
Antes de fotografar, olhe as bordas, dê aquele passinho para o lado, afaste a modelo da parede ou troque o ângulo.
Olhos prendem a atenção no retrato
Se o olhar tá perdido, sem foco ou escondido por sombra ruim, o retrato não vai chamar atenção.
No momento dos registros, não necessariamente a pessoa fotografada precisa olhar direto para a câmera, mas o olhar precisa estar coerente com a composição.
Em geral, a modelo pode tá olhando pra lente ou olhando pro lado. Algumas vezes, ficar de cabeça baixa pode funcionar.
Seja no celular ou na câmera, foque no olho mais próximo.
Pose pra foto boa não parece pose
Se a pessoa fotografada fizer pose forçada, é bem fácil de identificar, por exemplo, braço duro, ombro tenso, mão travada e pescoço encolhido.
Procure orientar a pessoa: “relaxe os ombros”, “vire um pouco o corpo”, “apoie a mão (sobre algum objeto)”, “segure um objeto”, “caminhe devagar”, “olhe pra fora do quadro”, “respire antes do clique”, coisas assim.
Tire um pouco de tensão da cena e tu vai conseguir um bom retrato natural.
Mãos podem complicar
Mão sem função no retrato fica chamando a atenção. Precisa cuidar pra ela não ficar perdida no bolso, apertada demais, aberta demais ou grudada no corpo.
Um truque simples é dar tarefa para a mão: “segure a jaqueta”, “apoie sobre a mesa”, “toque no cabelo” com cuidado”, “segure um copo”, “ajeite a manga” ou “encoste no bolso”.
Quando a mão faz alguma coisa com ar de naturalidade, ela vai ficar coerente com a fotografia.
Distância muda o rosto
Se você chegar perto demais da pessoa com lente muito aberta pode deformar, por exemplo, o nariz vai ficar maior e o rosto ficar mais arredondado.
Em selfie isso é bem comum e fica bastante perceptível.
Às vezes a pessoa acha que não ficou bem, mas o problema era distância e lente.
Para clicar retratos mais naturais e agradáveis de se olhar, procure se afastar um pouco e usar uma distância focal menos aberta. Dê um passinho para trás, vai ser melhor do que enfiar a câmera na cara da pessoa.
Retrato com celular também pede cuidado
No celular, a câmera principal geralmente já é bem aberta. tem que tomar cuidado com retrato muito colado no rosto porque acontecem os mesmos problemas que com câmeras convencionais.
Em geral, o celular faz bem retratos, o modo retrato desfoca fundo, suaviza pele, melhora contraste e tenta separar a pessoa do ambiente.
Tocar na tela, na área do rosto da pessoa pra ajustar foco e exposição é uma boa. A luz forte atrás da pessoa fotografada vai acabar escurecendo a pessoa. Se tentar clarear tudo, pode estourar o fundo.
Edição de retrato precisa ter freio
A edição vai mexer com o rosto, é preciso tomar cuidado porque é uma parte importante no retrato.
Ajustar um pouco de exposição, de contraste, de corte e/ou de cor pode, melhorar bastante o registro.
Caso a pessoa fotografada tenha uma espinha temporária também faz sentido.
Se exagerar na edição já acaba alterando demais a pessoa fotografada. Tipo, deixar a pele lisa demais, olho branco demais, dente brilhando demais e/ou o rosto afinado demais.
A pessoa vai começar a virar uma versão dela mesma. Então, retrato bom é pra melhorar a imagem sem mudar a pessoa.
O melhor retrato na fotografia parece simples
Para um retrato bonito não precisa tentar encontrar mil truques.
Uma boa fonte de luz, fundo harmônico, foco no lugar certo, pose destensionada, edição sem exagero e tempo. O suficiente para a pessoa fotografada dar uma respirada e se manter leve durante as fotos.
Fotografar retrato é procurar registrar alguém sem muita encenação.