One of the best ways to improve your photography skills is by analyzing and learning from your own photos. Whether you’re a beginner or an experienced photographer, reviewing your work and comparing the “before” and “after” of your edits can provide valuable insights into what works, what doesn’t, and how you can refine your skills over time.
In this article, we’ll explore how reviewing your own photos—before and after editing—can help you become a better photographer. We’ll discuss how to approach your images critically, what to look for, and how to use editing as a tool for learning and improvement.
Start with a Critical Review of Your Raw Photos
The first step in learning from your photos is to take a critical look at the raw images before any edits are made. Raw photos are the unedited versions of your shots, and they serve as a baseline for understanding the strengths and weaknesses of your photography.
What to Look for in Your Raw Photos:
- Exposure: Was the photo properly exposed, or is it too bright (overexposed) or too dark (underexposed)? Pay attention to areas that may have lost detail due to poor exposure.
- Composition: Review the composition of the shot. Did you follow compositional guidelines like the rule of thirds, leading lines, or symmetry? Did the subject fill the frame appropriately, or is there too much empty space?
- Focus: Is the subject sharp and in focus? Were you able to focus on the key elements of the photo, or did you miss the mark?
- Lighting: How was the lighting in your photo? Is it too harsh or too soft? Did you have enough light on the subject, or did shadows detract from the image?
- Color and White Balance: Are the colors accurate, or do they have an unnatural hue? Was the white balance correct, or did the image have a color cast (e.g., too yellow or blue)?
By assessing these factors in your raw photos, you’ll be able to identify areas that need improvement and understand what worked well in your shot.
Make Edits to Enhance Your Photo
Once you’ve critically reviewed your raw photos, it’s time to apply edits. Editing allows you to correct mistakes, enhance key elements, and transform a good photo into a great one.
Basic Edits to Consider:
- Exposure Adjustments: Correct underexposure or overexposure by adjusting the brightness and contrast. You can recover details from the highlights and shadows using sliders for highlights and shadows.
- White Balance: Adjust the white balance to remove color casts caused by different light sources (e.g., fluorescent lights can make your photo too green or blue).
- Crop and Straighten: If the composition is off, crop your photo to remove unnecessary elements and ensure that the subject is positioned well within the frame. Straighten the horizon if necessary.
- Sharpening and Noise Reduction: Sharpen the image to enhance fine details, and use noise reduction if the photo appears grainy, especially in low-light conditions.
- Saturation and Vibrance: Enhance the colors in your image without making them too intense. Use the vibrance slider for subtle adjustments that bring out the colors without oversaturating the image.
Advanced Edits to Consider:
- Local Adjustments: Use selective editing tools to adjust specific parts of the photo, such as brightening the subject’s face in a portrait or enhancing the sky in a landscape.
- Clarity and Texture: Use the clarity slider to enhance midtones and bring out texture in the image, which works especially well in nature and architectural photography.
When editing, always be mindful not to overdo it. It’s easy to go overboard with adjustments like saturation or contrast, but subtlety is often key to a natural, balanced edit.
Compare the Before and After
Once you’ve completed your edits, it’s time to compare the before and after versions of your photo. This is where you can truly assess how much your editing improved the image and reflect on the changes you made.
What to Look for in the After Photo:
- Improved Exposure and Contrast: Did your edits help balance the light and dark areas, bringing out more detail? Check if the exposure adjustments created a more dynamic image.
- Enhanced Composition: After cropping or straightening, does the composition look more balanced and engaging? Are there fewer distractions in the frame, and does the subject stand out more?
- Better Color and White Balance: Is the color more accurate and natural now? Does the photo look more visually appealing with the corrected white balance?
- Increased Detail and Sharpness: Did the sharpening bring out more detail, and does the image appear clearer and more focused?
- Overall Aesthetic: Does the photo look more polished and professional after editing? Is there a noticeable improvement in the visual appeal of the image?
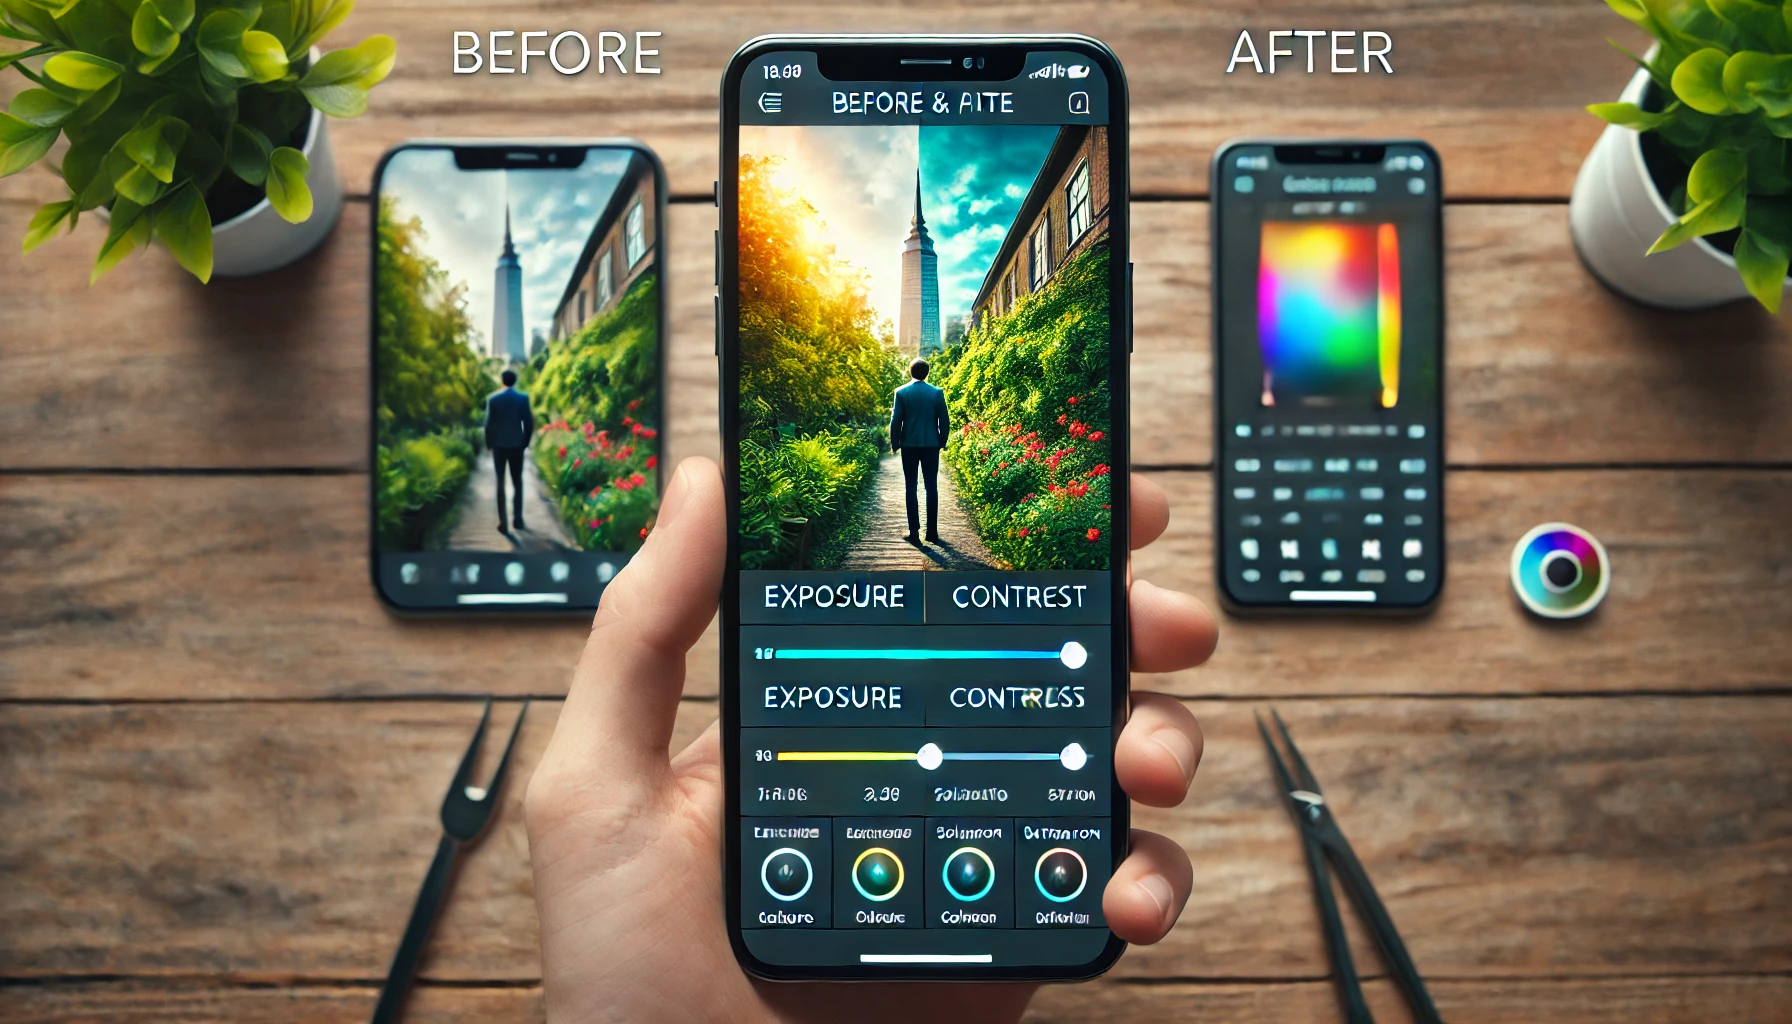
Create a Before and After Comparison:
Many photo editing software and apps allow you to view a side-by-side comparison of the before and after versions of your image. This can help you evaluate the effectiveness of your edits and ensure that you haven’t overdone any adjustments.
Learn from Your Edits
Once you’ve compared the before and after versions, take note of what you did well and what you could improve on for next time. This is where the learning happens. Over time, reviewing your own edits will help you develop a better understanding of the editing process and your personal editing style.
Key Questions to Ask Yourself:
- What worked well in this edit? Did you achieve the result you were aiming for? Is the photo more visually appealing after the edits?
- What could be improved? Was the exposure still slightly off? Did the colors become too saturated or the shadows too dark? What can you adjust next time to make the image even better?
- How can I apply these lessons to future photos? Reflect on the techniques you used in this edit and how you can apply them to your future shots to make them even better from the start.
By repeatedly reviewing your photos before and after editing, you’ll begin to develop a keen eye for what works in photography and editing, which will help you continuously improve your skills.
Practice and Experiment
The best way to learn from your photos is by practicing and experimenting with new techniques. Try taking photos in different lighting conditions, playing with composition, and exploring different editing styles. Don’t be afraid to make mistakes—each mistake is an opportunity to learn and grow.
Experiment with Different Edits:
- Try Different Styles: Experiment with a variety of editing styles, from natural and subtle edits to more dramatic, high-contrast looks. This will help you discover your editing preferences.
- Use Presets: Presets can be a great way to achieve a certain style or mood quickly. Try applying different presets to your photos and then fine-tuning the settings to match your vision.
- Shoot with Intent: While editing can improve a photo, great photography starts with capturing the right shot. Pay attention to composition, lighting, and subject matter when taking photos, and aim to capture images that require less editing.
Conclusion
Learning from your own photos, especially by comparing the before and after of your edits, is an excellent way to improve your photography and editing skills. By critically reviewing your raw images and applying thoughtful edits, you’ll be able to enhance your photos and understand the decisions that make a shot successful. Over time, this process will help you refine your techniques, experiment with new styles, and ultimately take your photography to the next level.