When it comes to uploading your photos online, maintaining their quality is essential. Whether you’re sharing your images on social media, a website, or in an online portfolio, you don’t want your photos to lose sharpness, color, or detail due to excessive compression. However, there’s a delicate balance between file size and quality that you need to maintain to ensure your photos load quickly without sacrificing their visual appeal.
In this article, we’ll explore how to save your photos for the web without losing quality, focusing on the best file formats, compression settings, and tips for optimizing your images.
Choose the Right File Format
The file format you choose for saving your photos plays a significant role in the quality and file size of your image. Each format has its own strengths and weaknesses, and choosing the right one for your needs can make a big difference in the final result.
JPEG (Joint Photographic Experts Group)
JPEG is the most widely used format for web photos because it offers a good balance between file size and image quality. It’s especially great for photographs and images with gradients or subtle color transitions, like landscapes or portraits.
- Best For: Photographs and complex images with many colors.
- Pros: Good quality at a relatively small file size.
- Cons: Lossy compression means some detail is discarded to reduce the file size.
PNG (Portable Network Graphics)
PNG is another common format used for the web, but it’s best suited for images with transparency or images that require high detail, such as logos or illustrations.
- Best For: Images with transparency or images requiring crisp edges, like logos and icons.
- Pros: Lossless compression retains all details, and supports transparency.
- Cons: Larger file sizes compared to JPEG.
WebP (Web Picture Format)
WebP is a newer image format developed by Google. It provides high-quality images at smaller file sizes than both JPEG and PNG. WebP supports both lossy and lossless compression, and it’s widely supported by modern browsers.
- Best For: General use, offering the best balance of quality and file size.
- Pros: Small file sizes with high quality and support for transparency.
- Cons: Older browsers may not support WebP.
GIF (Graphics Interchange Format)
GIF is typically used for simple graphics or animations. It’s not ideal for photographs, as it only supports 256 colors, but it’s great for small, animated images.
- Best For: Simple animations or small, low-color images.
- Pros: Supports animation and small file sizes.
- Cons: Limited to 256 colors and not suitable for photos.
Compress Your Images for the Web
Compression is the process of reducing the file size of your image, and it’s essential for optimizing images for the web. While compression can reduce the file size, excessive compression can result in a loss of image quality. To maintain a balance, it’s important to use the right level of compression.
Lossy vs. Lossless Compression
- Lossy Compression: This type of compression reduces the file size by discarding some of the image data. JPEG is a lossy format, which means that the quality of the image may degrade slightly when it’s compressed. However, if you’re careful with the compression settings, the loss of quality may not be noticeable.
- Lossless Compression: This type of compression reduces file size without losing any image data. PNG and WebP can both use lossless compression, making them ideal for images that require high detail and clarity.
How to Compress Images
- Adjust Quality Settings: Most photo editing software and online tools allow you to adjust the quality settings when saving an image. For JPEGs, you can choose a quality level between 0 and 100. A quality setting of around 80-85 is generally a good balance between file size and image quality.
- Use Online Compression Tools: There are many free online tools that help compress images without losing too much quality. Some popular ones include TinyPNG, Compressor.io, and Squoosh. These tools allow you to upload your images and get a smaller file size with minimal loss of quality.
Resize Your Images for the Web
One of the easiest ways to reduce file size without compromising quality is by resizing your images. Large image files not only take up more storage space, but they can also slow down the loading time of your website or page. Resizing your images to fit the exact dimensions required for web use is crucial for performance.
How to Resize Images
- Determine the Required Dimensions: Before resizing, determine the dimensions your image needs for the web. For example, the recommended image width for blog posts or social media sharing may be around 1200px or 1920px. The height can vary based on the composition of the image.
- Use Editing Software: You can resize images using software like Adobe Photoshop, Lightroom, or free alternatives like GIMP. Simply open the image, select the resize option, and input the desired width and height.
- Don’t Over-Resize: Avoid resizing images to an excessively small size, as this can cause them to lose detail and sharpness. Aim for a size that’s appropriate for your use without being too large.
Adjust DPI (Dots Per Inch)
DPI refers to the resolution of an image and determines how sharp the image will appear when printed. However, for images used on the web, DPI isn’t as important as the image dimensions (width and height). Most web images are displayed at 72 DPI, which is standard for web usage.
When to Adjust DPI
- Set DPI to 72 for Web: When saving images for the web, ensure they’re set to 72 DPI, as higher DPI settings are unnecessary for online images and only increase file size.
- Use Appropriate Resolution: Higher resolution images may appear sharper on the web, but they also come with larger file sizes. Stick to a resolution of 72 DPI for the web, and adjust dimensions as needed.
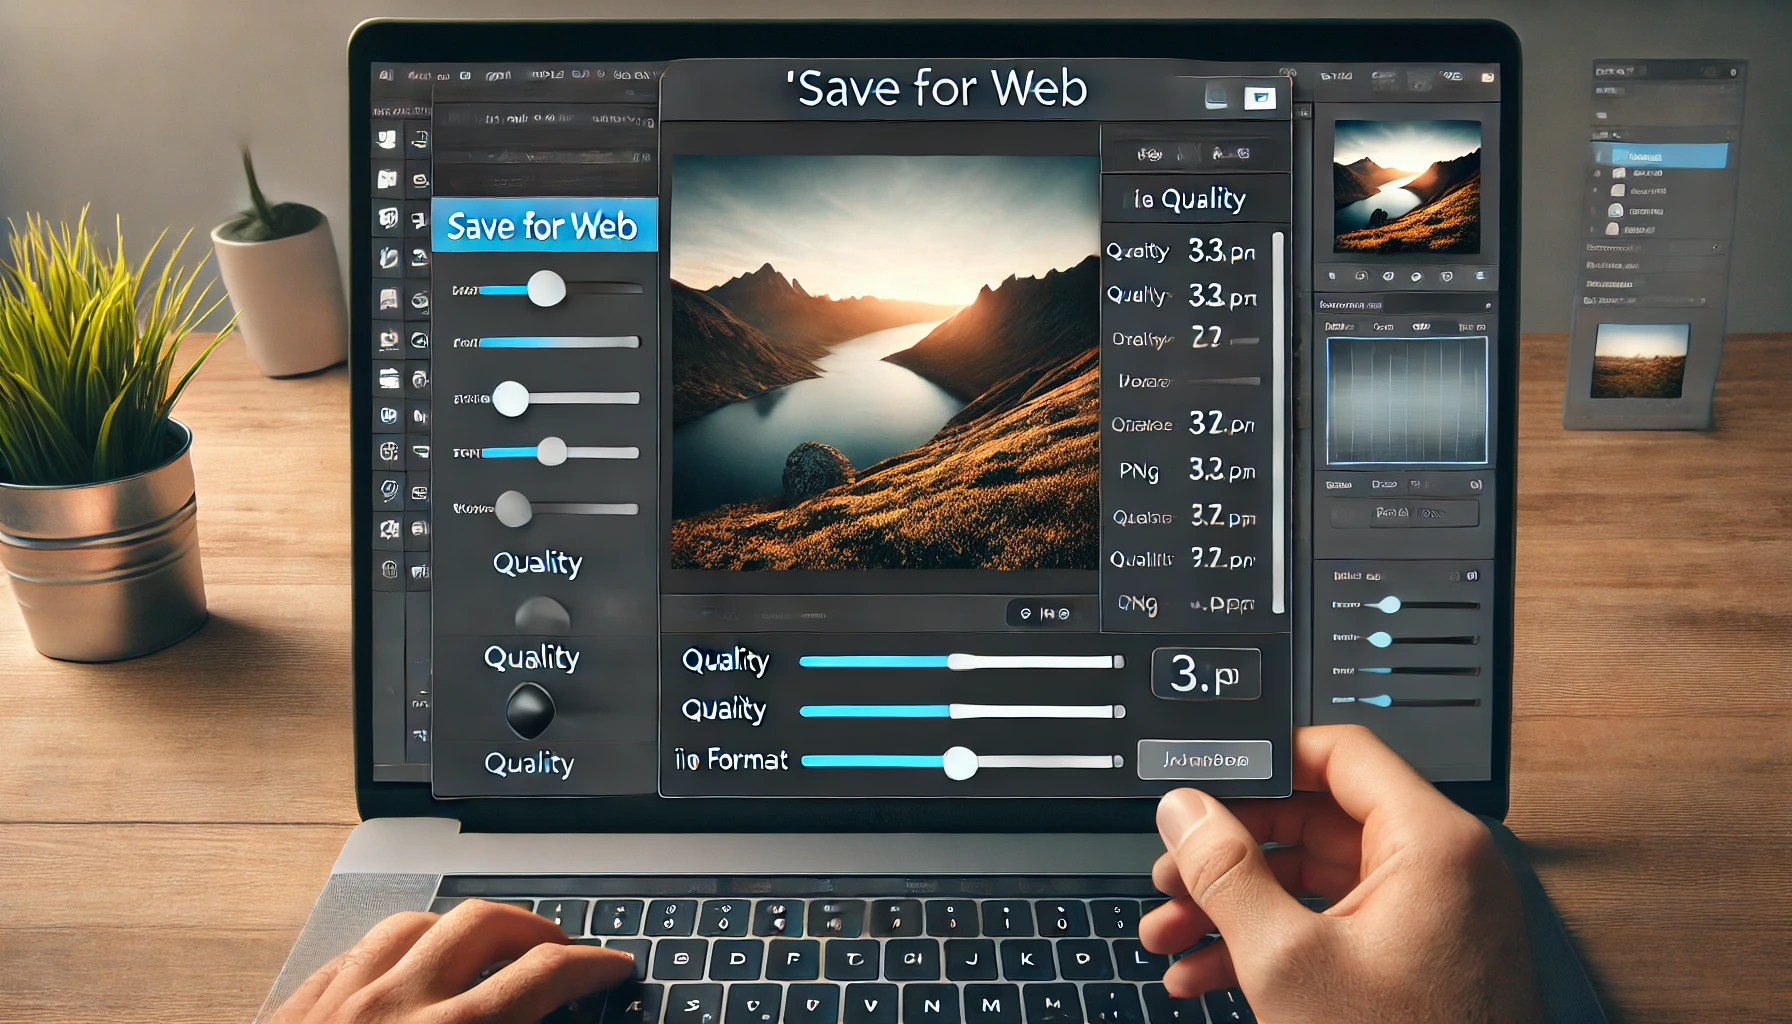
Save for Web Using Editing Software
If you’re using editing software like Adobe Photoshop, you can use the Save for Web feature to automatically optimize your images for the web. This tool allows you to adjust the file format, quality, and dimensions while minimizing file size.
- Photoshop’s Save for Web: In Photoshop, go to File > Export > Save for Web (Legacy). Here, you can select the format (JPEG, PNG, GIF), adjust the quality settings, and preview the result to ensure the image retains its quality while reducing the file size.
- Other Editing Software: Many other photo editing programs offer similar options to save for the web, so check your program’s export settings for optimization tools.
Consider Image Compression for Faster Load Times
Web performance is a critical factor in user experience, and large image files can slow down the loading time of your website. When you optimize images for the web, you’re not only improving the quality of the image but also ensuring your site loads quickly, which can improve your site’s SEO ranking and user engagement.
- Lazy Loading: For websites with many images, you can implement lazy loading, which only loads images as the user scrolls down the page. This reduces initial page load times and saves bandwidth.
- WebP Format: Consider using the WebP format for your images, as it typically provides a smaller file size with excellent image quality.
Conclusion
Saving your photos for the web without losing quality involves selecting the right file format, adjusting the exposure and resolution, and using compression wisely. By following the best practices outlined in this article—resizing images, using the right file formats, and optimizing compression—you can ensure that your images look great on the web while maintaining fast load times and minimal file size. Whether you’re working on a blog, social media, or a website, these tips will help you preserve your photos’ quality while making them web-friendly.