
Montar um kit fotográfico básico parece simples, mas é aí que muita gente começa a se atrapalhar.
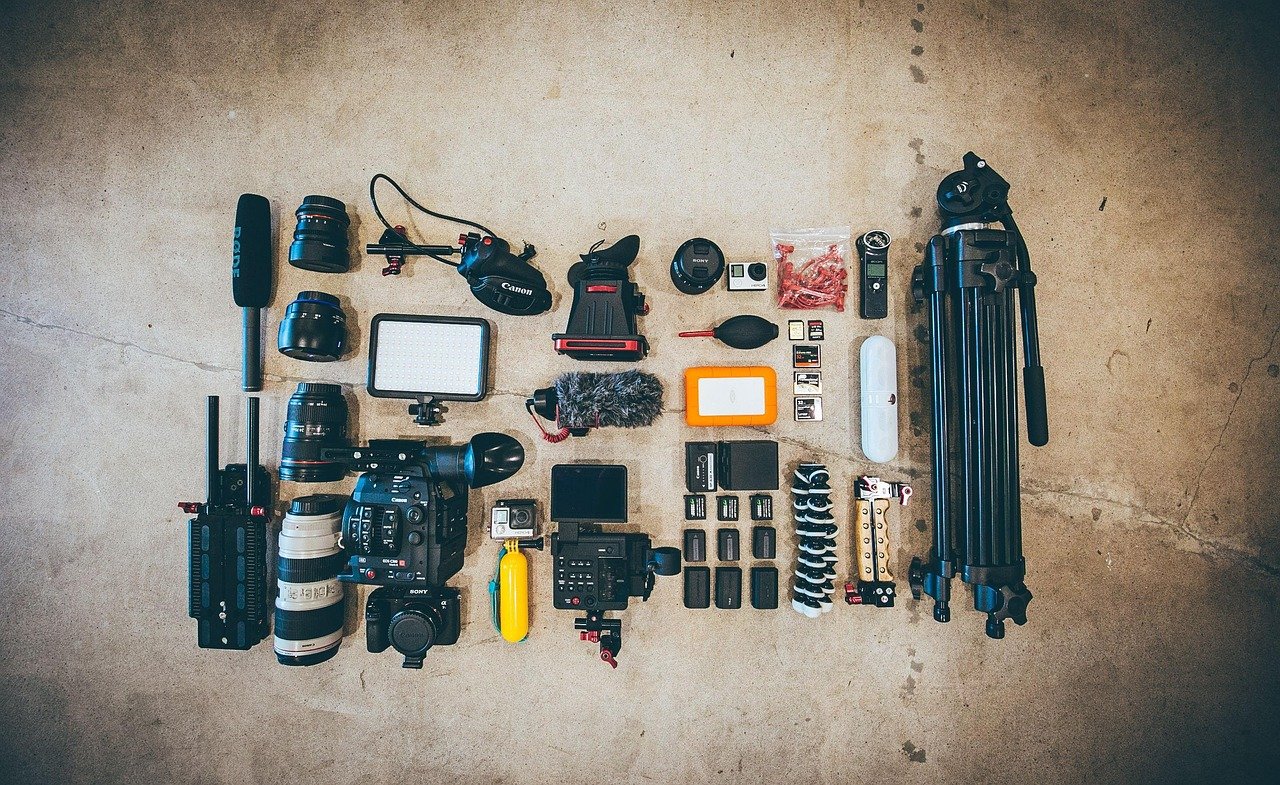
Algumas poucas pesquisas e o algoritmo entrega câmera, lente, tripé, flash, LED, mochila, filtro, microfone, cartão, bateria, aplicativo e mais um monte de coisa que, no papel, parece indispensável.
Na prática, o começo pode e, talvez, precise ser mais modesto.
O kit deve permitir fotografar, guardar os arquivos com segurança, proteger o equipamento e não deixar a pessoa na mão por falta de bateria ou cartão.
Com o tempo o cara vai adquirindo os demais itens.
A câmera importa, mas não trabalha sozinha
É normal criar expectativas na câmera.
Via de regra, o fotógrafo pesquisa sites de comparação de modelos, tipo DPreview, olha ficha técnica, vê vídeos e sempre acha que a próxima compra vai acrescentar algo a mais.
Sim, câmeras melhores ajudam, mas um fotógrafo continua dependendo da luz, do foco, do enquadramento e da decisão de como fotografar.
Pra quem está começando, uma câmera de entrada dá conta do recado. DSLR usada, mirrorless básica ou câmera mais antiga em bom estado ensinam muitas coisas ao fotógrafo iniciante.
O importante é se permitir aprender sobre fotografia, não apenas apertar botão no automático.
Até o celular já ajuda no começo. Com celular já dá pra treinar composição, ângulo, luz e narrativa visual antes de gastar com corpo e lente.
A lente básica também é boa pra trabalho
A 18-55mm tem limitações: não é muito clara, não aproxima tanto no zoom e não entrega um desfoque bonito.
Serve pra paisagem, viagem, família, objetos, rua e registros simples do dia a dia.
Não julgue a lente sem testar com luz decente, foco correto e um enquadramento pensado.
Fotos ruins não nascem só do equipamento quando se está começando a clicar. Pode ser luz ruim, tremida, sem foco, ISO alto demais ou edição pesada tentando salvar o que não nasceu bem.
Compra boa tem motivo
A 50mm f/1.8 tende a ser uma das primeiras lentes desejadas.
E é realmente boa. Clara, acessível e útil pra retratos, detalhes e baixa luz.
Em câmera com sensor APS-C, pode ficar apertada em ambientes não muito amplos. Pra alguns usos, uma 35mm pode ser mais prática.
Pra produto, talvez o tripé venha antes.
Pra vídeo, talvez áudio e estabilidade sejam mais urgentes.
A pergunta não deveria ser só: qual equipamento comprar?
A pergunta que se deve fazer é o que está limitando o seu trabalho.
Essa pergunta economiza dinheiro.
Itens que ajudam no dia a dia
Cartão de memória, bateria extra e uma bolsa adequada pra transportar os equipamentos não chamam atenção, mas facilitam o trabalho pra caramba.
Cartão ruim pode travar ou perder arquivo.
Trabalhar só com uma bateria pode acabar a carga no momento mais importante de um trabalho.
Equipamento jogado em mochila comum bate, risca, pega umidade e junta sujeira.
Uma dica é não tratar esses itens como detalhes sem importância.
Luz vem antes de muita tralha
Fotografia é escrever com a luz, mas não precisa começar comprando um monte de kits de iluminação.
Uma janela, uma parede clara, uma sombra aberta, uma luminária bem posicionada ou uma cartolina branca já ensinam bastante.
Direção da luz, sombra, contraste, volume.
São coisas simples que mudam o resultado.
Depois, se fizer sentido, dá pra cogitar um LED, um flash, um softbox ou um rebatedor melhor.
Só considere comprar luz observando a luz, como ela se comporta na câmera.
Seu kit fotográfico básico precisa ser pensado pro uso que tu precisa
Um kit fotográfico básico não precisa parecer profissional, precisa funcionar.
Câmera simples, lente versátil, cartão confiável, bateria extra, proteção mínima e atenção à luz já dão conta do recado.
O resto você vai comprando aos poucos.
Se faltar estabilidade, pense em tripé.
Se o problema for luz, talvez seja LED ou flash.
Se a lente te limita de verdade, estude sobre lentes.
Fotografia não melhora só porque o equipamento aumenta.
Carregue menos coisas, observe melhor a cena e entenda o que realmente melhora o resultado das tuas fotos.